
Are you an Ubuntu user and want to install a Windows application but don’t want to install a complete Windows OS? Then, Wine can help you, but, wait it’s not that wine but it is an application that you can install on Ubuntu. Wine (stands for “Wine Is Not an Emulator”) is an application designed to install Windows applications on a Linux system. In other words, it is a compatibility layer used to install Windows applications on Linux. Wine is like an emulator but it is designed in a way to improve the system performance.
How to Install Wine on Ubuntu 24.04
As from the title we can sense, that Wine does not come preinstalled, but it needs to be installed manually. Wine can be installed on Ubuntu using the default repository and the WineHQ repository.
Method 1: Install Wine on Ubuntu 24.04 from the Default Repository
The most straightforward and simple way to install Wine on Ubuntu is through the official apt repository. However, the official repository may not install the latest version of Wine. But, the official Ubuntu repository guarantees the stable wine version.
1.1. Check System Archtecture
Check the CPU architecture before installing Wine, because Wine offers different applications for 32-bit and 64-bit architecture:
lscpu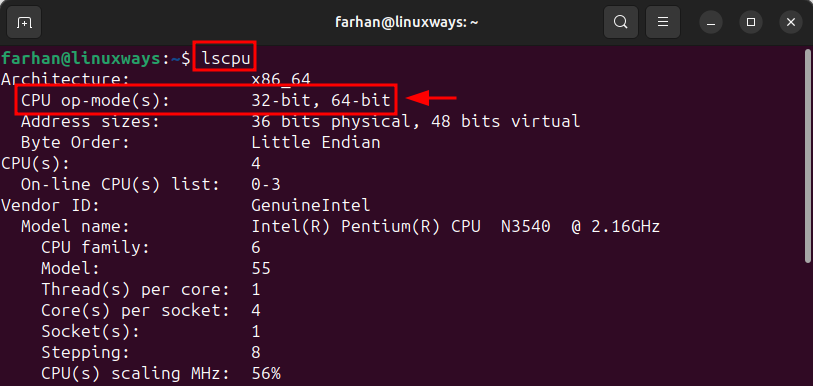
1.2. Update System Repositories
After detecting the CPU architecture, update the local repositories, by running this command:
sudo apt update && sudo apt upgrade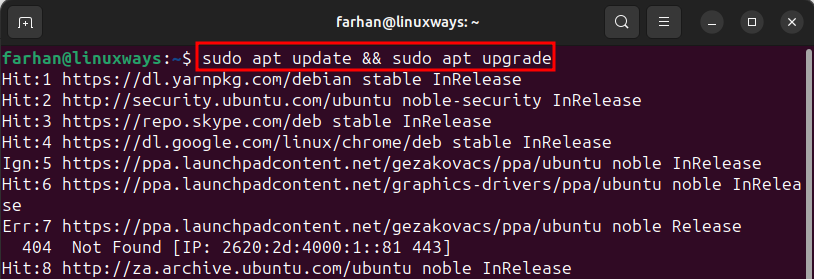
1.3. Install Wine on Ubuntu
Now, that you have figured out your CPU architecture it’s time to install Wine on Ubuntu. If you have a 64-bit CPU, then, run this command to install Wine:
sudo apt install wine64
Alternatively, if you have a 32-bit CPU then, run this command to install Wine:
sudo apt install wine321.4. Check Wine Version
After installing wine, check its version to verify the installation by running the given command:
wine --version
Method 2: Install Wine on Ubuntu 24.04 from the WineHQ Repository
Another way of installing wine is from the WineHQ repository. The WineHQ repository contains the latest Wine version, but it may or may not be stable. Check the following steps to install Wine from the WineHQ repository on Ubuntu.
2.1. Enable 32-bit Architecture
You can only install Wine from the WineHQ repository if you have a 32-bit supported system. As we know Ubuntu discontinued 32-bit architecture back in 2017, so we can assume that every Ubuntu system nowadays is 64-bit.
So, to enable the 32-bit architecture, execute the below command in the Terminal:
sudo dpkg --add-architecture i386
2.2. Update System Repositories
Once the 32-bit architecture is enabled, then, update the local repositories. It is a good practice to update before installing any package on Ubuntu, to do so, run the below command:
sudo apt update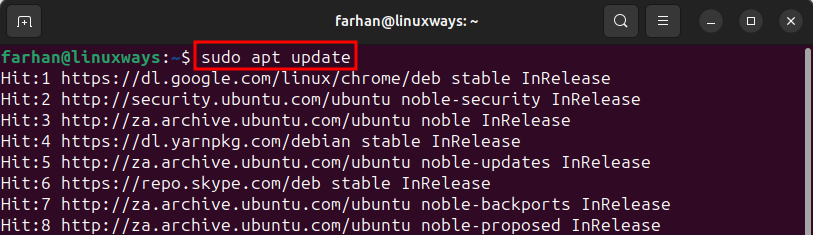
2.3. Add the Wine Repository Keys
Make sure to add security keys before installing Wine so that your system can communicate with the repository securely. To add the security keys to the system run the below command:
sudo wget -O /etc/apt/keyrings/winehq-archive.key https://dl.winehq.org/wine-builds/winehq.key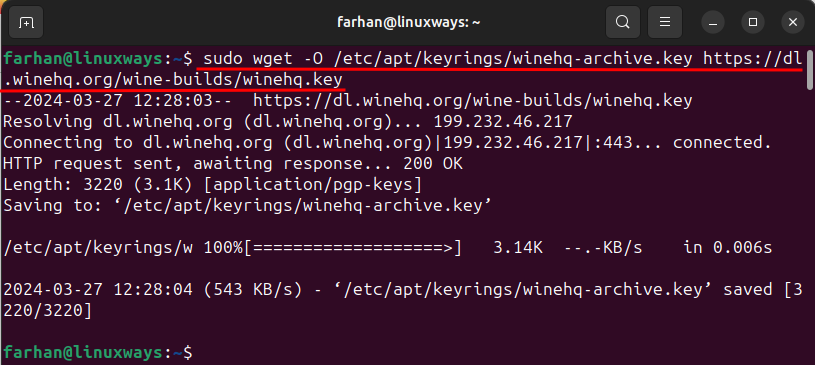
2.5. Add WineHQ Repository
Now, add the WineHQ repository to the system from where you will be able to install Wine on Ubuntu. To add the WineHQ repository to the system run the given command:
sudo wget -NP /etc/apt/sources.list.d/ https://dl.winehq.org/wine-builds/ubuntu/dists/jammy/winehq-jammy.sources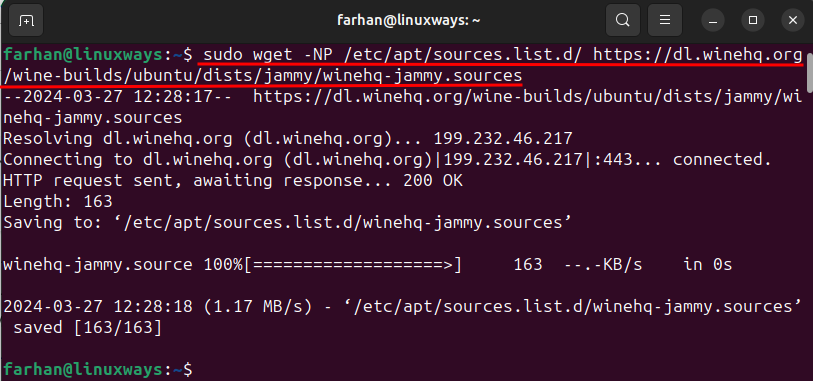
2.5. Update Packages List
Once the WineHQ repository is added, update the system packages list so that WineHQ repository could be displayed in the system:
sudo apt update
2.6. Install Wine on Ubuntu
After adding WineHQ repository to the system, you are all set to install Wine on Ubuntu from that repository. To install the stable version of Wine from the WineHQ repository run the given command:
sudo apt install --install-recommends winehq-stable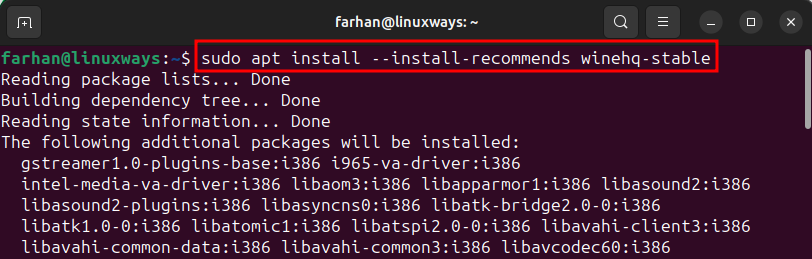
Alternatively, you can install the latest version of Wine from WineHQ repository by running the given command:
sudo apt install --install-recommends winehq-devel2.7. Verify Wine Installation
After installing Wine, verify its installation by executing the given command:
wine --version
How to Update Wine on Ubuntu?
If you have already install the Wine on Ubuntu and want to upgrade it to the latest version. Then, executing the following command will upgrade Wine to the latest version on Ubuntu:
sudo apt-get upgrade winehq-stable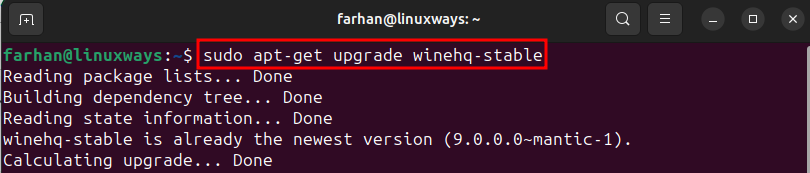
How to Remove Wine from Ubuntu?
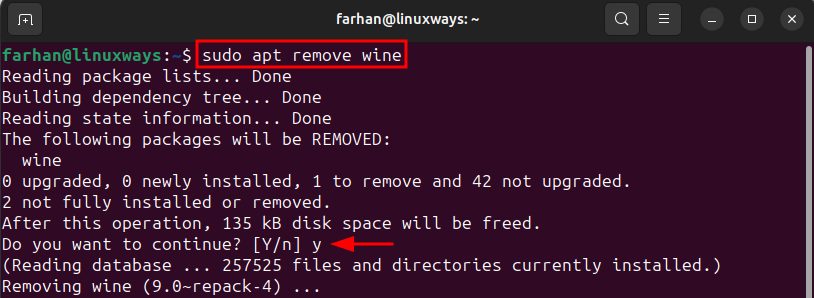
If you are done using Wine or want remove it for some other purpose, then, you can remove it by executing the following command:
sudo apt remove wineThe above command will remove Wine from Ubuntu but not its dependencies:
After removing Wine, you can remove all of its dependencies by running this given command:
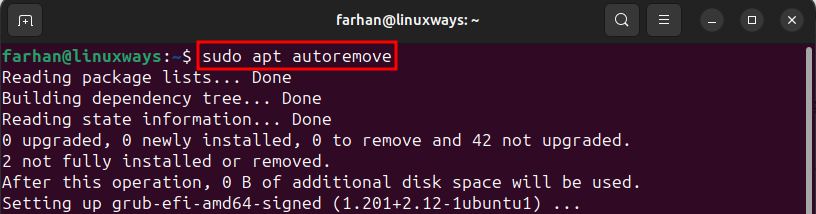
sudo apt autoremoveNot only of Wine, but it will remove all other left over dependencies of other programs:
Now it is recommended to remove all the folders related to the Wine application. You can remove all the Wine folders, by executing the given commands one by one:
rm -rf $HOME/.winerm -f $HOME/.config/menus/applications-merged/wine*rm -rf $HOME/.local/share/applications/winerm -f /.local/share/desktop-directories/wine*rm -f /.local/share/icons/????_*.xpm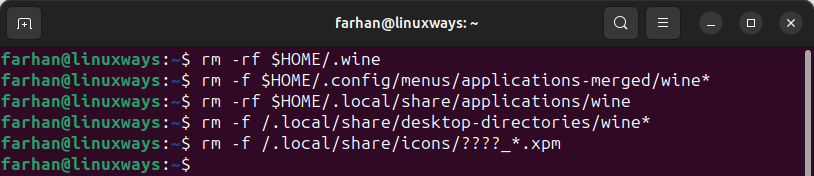
Once you removed all the folders, finally, run the given command to remove all the temporary files related to the Wine package:
sudo apt-get remove --purge ^wine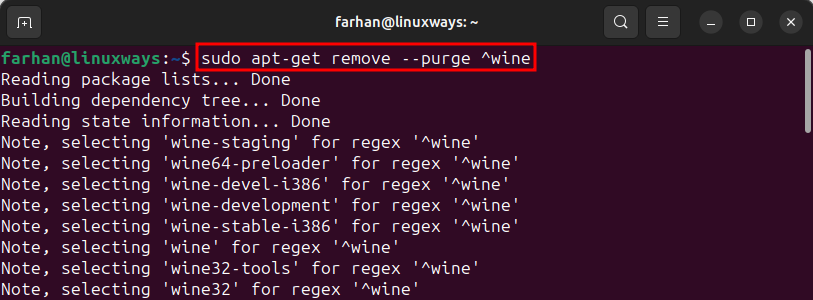
sudo apt update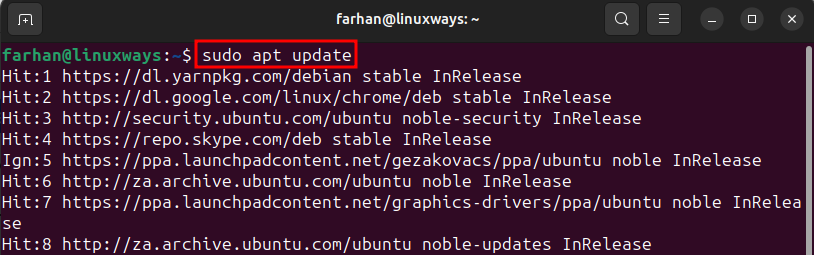
Once done with removing all the Wine files, dependencies and packages, then, execute the given commands one by once to correct any installation errors:
sudo apt autoclean
sudo apt clean
sudo apt autoremove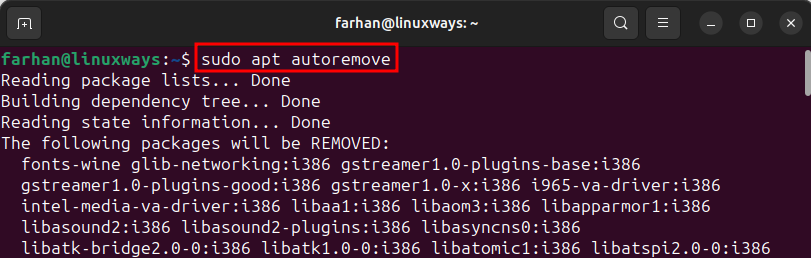
Conclusion
There are two methods to install Wine on Ubuntu, one is through the official repository and other is through the WineHQ repository. To install Wine on Ubuntu from the official repository, first, check your Ubuntu architecture using the lscpu command. It is necessary because Ubuntu offers different Wine application for 64-bit and 32-bit architecture. After that run the sudo apt install wine64 command if you 64-bit system or run sudo apt install wine32 command if you 32-bit system. You can also install Wine on Ubuntu from the WineHQ repository. To install Wine from WineHQ repository you must enable the 32-bit architecture. After that, add the security keys and add the WineHQ repository to the system. Once the repository is added then run the sudo apt install –install-recommends winehq-stable command to install Wine from the WineHQ repository.
Frequently Asked Questions
How to check the CPU architecture before installing Wine on Ubuntu 24.04?
To check the CPU architecture, you can use the command 'lscpu' before installing Wine on Ubuntu 24.04.
What is the difference between the default repository and WineHQ repository for installing Wine on Ubuntu 24.04?
The default repository in Ubuntu offers a stable version of Wine, while the WineHQ repository may provide the latest version of Wine but with potential stability risks.
Can Wine on Ubuntu 24.04 run all Windows applications smoothly?
While Wine is designed for compatibility, not all Windows applications may run smoothly on Ubuntu 24.04 due to differences in operating systems.
What are the benefits of using Wine on Ubuntu 24.04 instead of a Windows emulator?
Wine is not an emulator, and it is designed to improve system performance when running Windows applications on Ubuntu 24.04, unlike traditional emulators.
Is it necessary to update the system repositories before installing Wine on Ubuntu 24.04?
Yes, it is recommended to update the system repositories using 'sudo apt update && sudo apt upgrade' before installing Wine on Ubuntu 24.04 to ensure you have the latest package information.
How can I verify the version of Wine installed on Ubuntu 24.04?
To check the version of Wine installed on Ubuntu 24.04, you can run the command 'wine --version' in the terminal.
Does Wine installation on Ubuntu 24.04 support both 32-bit and 64-bit architectures?
Yes, Wine installation on Ubuntu 24.04 supports both 32-bit and 64-bit architectures by providing separate installation commands for each.
Are there any potential risks associated with installing Wine on Ubuntu 24.04?
While Wine is a widely used compatibility layer, there may be risks related to compatibility issues or performance when installing certain Windows applications on Ubuntu 24.04 using Wine.