
Ever felt like changing up the look of your documents or presentations, but didn’t know where to start? You can make your Windows 10 system uniquely yours – starting with fonts. Through this guide, you’ll gain proficiency in the process of installing fonts on Windows 10, following a series of uncomplicated steps.
Understanding Fonts
Before we move forward with the installation steps, let’s take a moment to comprehend the concept of fonts. Fonts can drastically change the vibe of your documents or projects. They’re a combination of typeface, size, weight, slope, and style, all designed to make your text visually appealing.
Finding and Downloading Fonts
The internet is brimming with resources for amazing fonts, many of which are free. One such trusted resource is Font Squirrel. Navigate through their vast library of typography and choose one that suits your style. Once you find your desired font, click the ‘Download’ button. This will download a zip file containing the font onto your computer.
Extracting Font Files
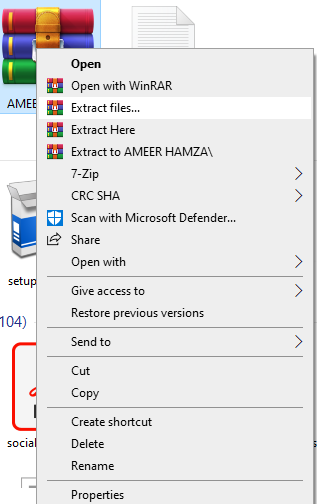
Now, let’s get these font files out of the zip file:
- Navigate to your ‘Downloads’ folder or wherever your downloads get saved.
- Find the zip file you just downloaded. Right-click on it.
- From the context menu, select ‘Extract All’.
- You will need to select a destination for the uncompressed files.
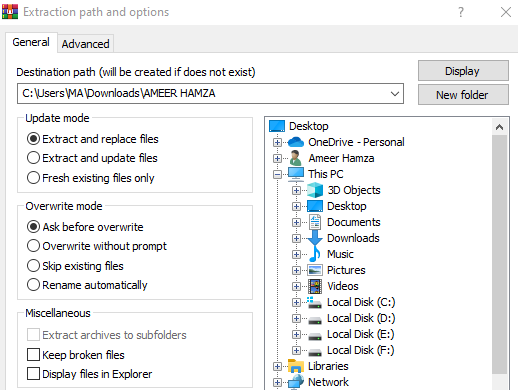
Pick a location and click ‘Extract’.
Installing Fonts: Drag and Drop Method
Now, let’s move on to the intriguing aspect – the installation of the font. One of the simplest methods is the drag-and-drop technique. Imagine you’re playing a game of digital basketball; your font file is the ball, and the hoop is your Fonts directory.
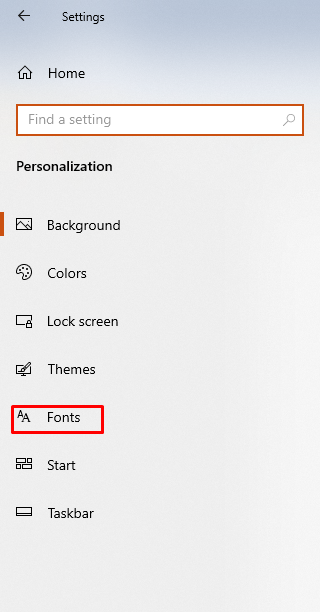
To do this, navigate to Start > Settings
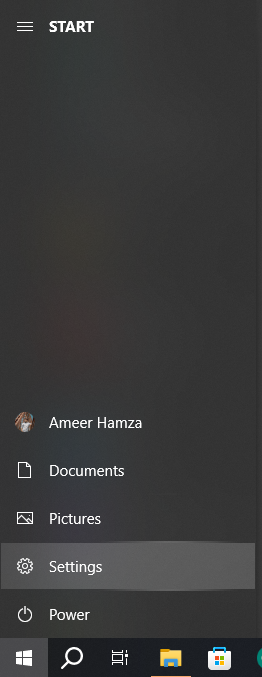
> Personalization

> Fonts.

This will open the Fonts window in the Settings app.

At this point, simply drag your font file and release it into the ‘Add Fonts’ section. Easy peasy, right?
Installing Fonts: Right-Click Method
If you’re more of a right-click menu fan, there’s a method for you too. Locate your font file, right-click on it, and choose ‘Install’. If you want the font to be available to all users on your computer, select ‘Install for all users’. It’s like handing out cookies – everyone gets one!
Installing Fonts from Microsoft Store
But what if you’re not keen on searching the web for fonts? Microsoft’s got you covered. You can download and install fonts directly from the Microsoft Store.
To do this, navigate to Settings

> Personalization
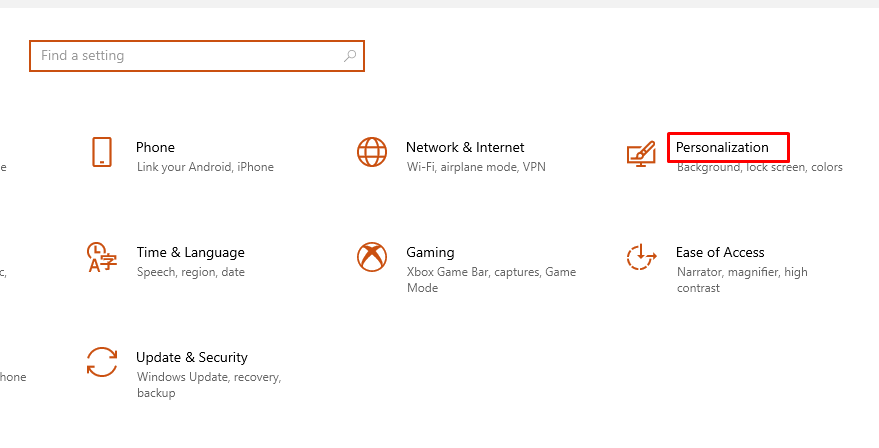
> Fonts.
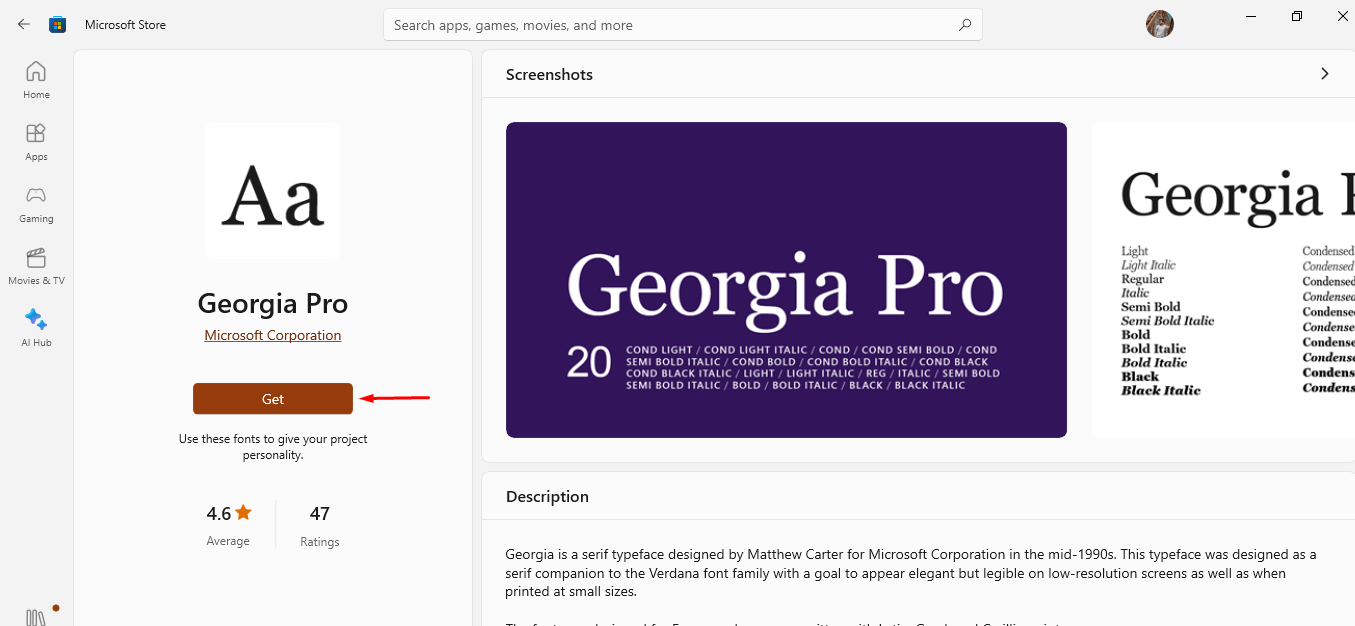
Click on the link that says ‘Get more fonts in Microsoft Store’.

Upon doing so, it will launch the store interface, allowing you to explore a wide array of fonts.

Once you’ve chosen one, click ‘Get’ or ‘Buy’ to download and install the font.
Troubleshooting: Forcing Windows to Install Fonts
Sometimes, Windows may not cooperate and you’ll need to force it to install the font.
To do this, navigate to C:\Users\YourUsername\AppData\Local\Microsoft\Windows\Fonts. Right-click on your font file and choose ‘Install for all users’. It’s like telling a stubborn mule to move – sometimes, they need a little extra persuasion.
Verifying the Installation
To check if the font was installed successfully:
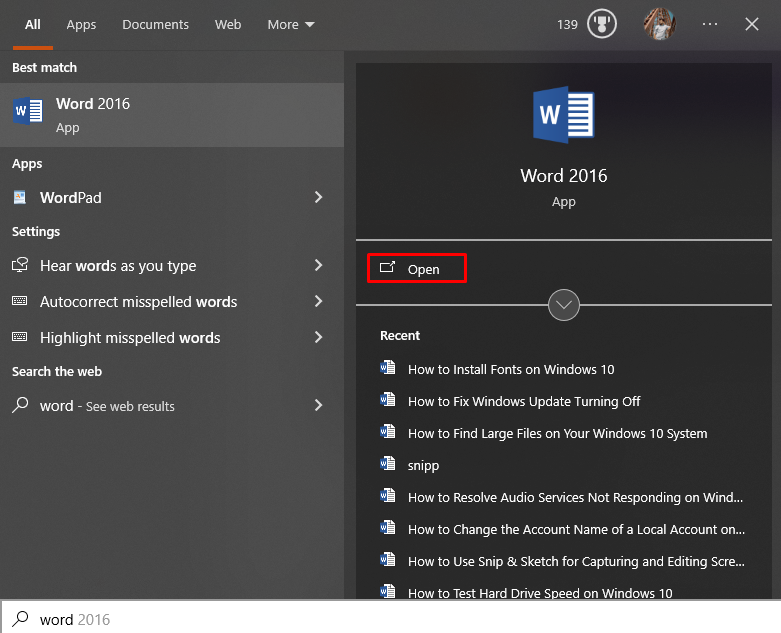
- Open a program like Microsoft Word.
- Click on the drop-down menu for fonts.
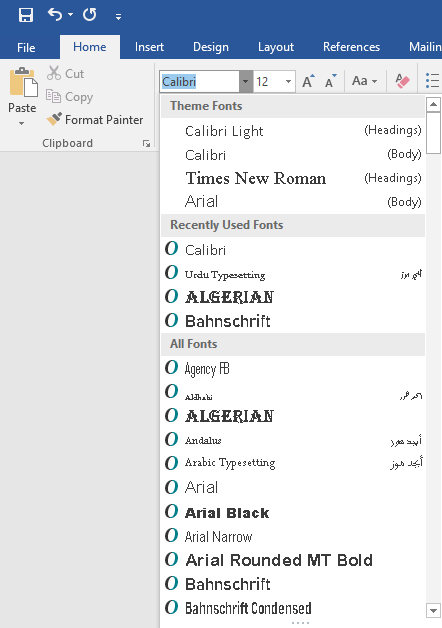
- Scroll down to find your newly installed font.
Conclusion
Installing fonts on Windows 10 is an easy, straightforward process that can significantly personalize your system. By downloading and installing fonts, you breathe new life into your presentations, documents, and even your system interface. You are welcome to begin your adventure of font discovery. Happy font hunting and installing!