
Windows Driver Foundation (WDF) is a system service that provides a common framework for developing and loading device drivers. It plays a crucial role in Windows and is essential for the proper functioning of numerous devices. However, at times, WDF can result in high CPU usage, causing performance issues.
Encountering high CPU usage due to WDF can be addressed with several solutions. This blog post explores prevalent causes of elevated WDF CPU usage and provides methods to resolve them.
What are the Reasons for the Windows Driver Foundation’s High CPU?
Several potential factors could be causing WDF to result in high CPU usage. Some of the most common causes include:
- Corrupted or outdated drivers. If your drivers are corrupted or outdated, they can cause problems with WDF, including high CPU usage.
- Hardware conflicts. Conflicts between two or more hardware components can lead to issues with WDF and other system services.
- System file corruption. If system files are corrupted, it can cause problems with WDF and other system services.
- Malware infection. The presence of malware on your computer can create problems not only with WDF but also with other system services.
How to Fix Windows Driver Foundation High CPU
Several actions can be taken to address high WDF CPU usage. Here are some of the most common solutions:
1. Update Windows and your drivers.
Begin by ensuring that both Windows and all your drivers are up to date. Microsoft and hardware manufacturers frequently release updates that address bugs and enhance system performance.
To update Windows, open the Settings app

and go to Update & Security

> Windows Update.
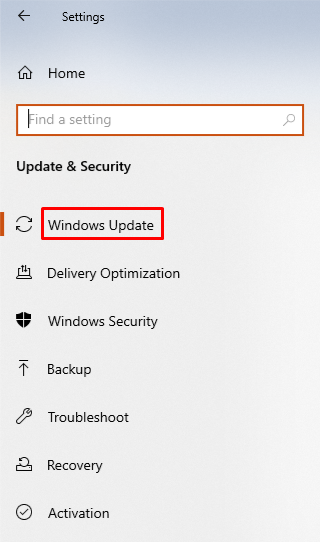
Click Check for updates and install any available updates.

To update your drivers, you can use the Device Manager.
To open the Device Manager, press Windows key + R to open the Run dialog box.

Type devmgmt.msc and press Enter.

In the Device Manager, expand the category for the device that you want to update the driver for.

Right-click the device and select Update driver.
2. Run the System Maintenance Troubleshooter.
The System Maintenance Troubleshooter is a built-in tool that can scan for and fix common problems with Windows. This includes problems with WDF.
To run the System Maintenance Troubleshooter, follow these steps:
- Press Windows key + R to open the Run dialog box.

- Type msdt.exe -id MaintenanceDiagnostic and press Enter.

- In the System Maintenance Troubleshooter window, click Next.
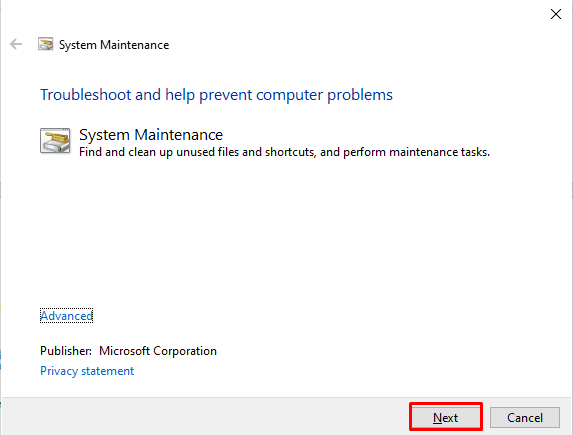
- The troubleshooter will scan your computer for problems. If it finds any problems, it will try to fix them.

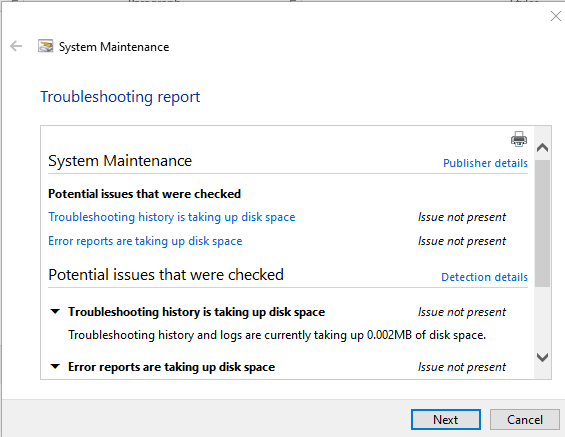
- Once the troubleshooter has finished scanning, it will display a report of the problems that it found and fixed.
3. Disable HID Sensor Collection V2 on Surface Pro.
If you are using a Surface Pro device, you may be able to fix high WDF CPU usage by disabling HID Sensor Collection V2.
To disable HID Sensor Collection V2, follow these steps:
- Press Windows key + R to open the Run dialog box.
- Type devmgmt.msc and press Enter.

- In the Device Manager, expand the category for Human Interface Devices.
Note: I don’t see this option
- Right-click HID Sensor Collection V2 and select Disable device.
- Click Yes to confirm.
4. Repair your system files.
If system files are corrupted, it can cause problems with WDF and other system services. You can use the System File Checker (SFC) to repair corrupted system files.
To repair corrupted system files, follow these steps:
- Open a command prompt window with administrator privileges.
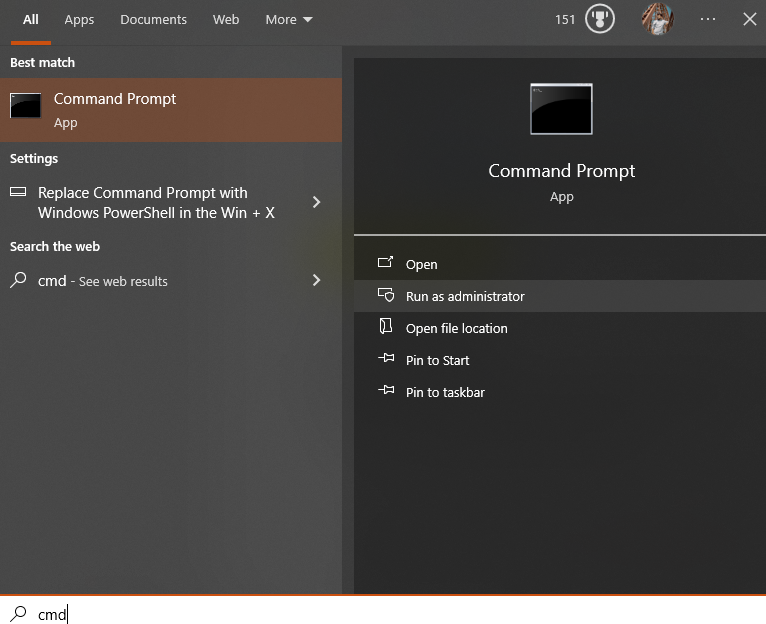
- In the command prompt window, type sfc /scannow and press Enter.

- The SFC will scan your computer for corrupted system files and repair them if necessary.
5. Repair your system with System Restore.
Utilize a previously created system restore point to revert your system to a prior state. This action can resolve issues that have emerged since the creation of the restore point.
To repair your system with System Restore, follow these steps:
- Open the System Restore window. To do this, press Windows key + R to open the Run dialog box. Type rstrui and press Enter.

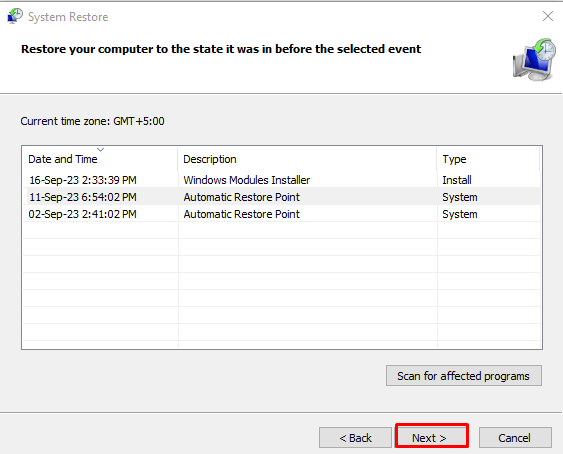
- In the System Restore window, click Next.

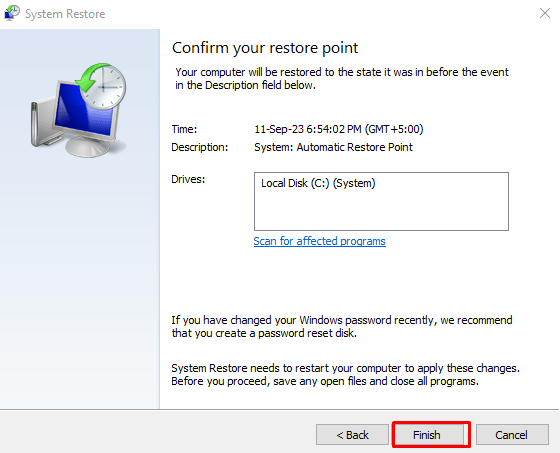
- Select a system restore point and click Next.
- Click Finish to start the system restore process.
Conclusion
If you are experiencing high CPU usage by Windows Driver Foundation, there are a number of things you can do to fix the problem. By following the solutions in this blog post, you should be able to fix the problem and improve the performance of your computer.
Frequently Asked Questions
How can I fix high CPU usage caused by Windows Driver Foundation?
To resolve high CPU usage due to Windows Driver Foundation, update Windows and all drivers, check for hardware conflicts, scan for malware, and repair system file corruption.
What are the common reasons for Windows Driver Foundation's high CPU usage?
Common causes of high CPU usage by Windows Driver Foundation include corrupted or outdated drivers, hardware conflicts, system file corruption, and malware infections.
How do I update Windows and drivers to address high WDF CPU usage?
To update Windows, go to Settings > Update & Security > Windows Update. To update drivers, open Device Manager by pressing Windows key + R, then type devmgmt.msc.
Why is it important to keep Windows and drivers up to date?
Keeping Windows and drivers up to date is crucial as updates often include bug fixes, security patches, and performance enhancements that can help resolve high CPU usage issues.
What steps can I take to prevent high CPU usage by Windows Driver Foundation?
To prevent high CPU usage by Windows Driver Foundation, regularly update Windows and drivers, perform malware scans, resolve hardware conflicts, and maintain system file integrity.
How can corrupted or outdated drivers contribute to high CPU usage by WDF?
Corrupted or outdated drivers can lead to high CPU usage by Windows Driver Foundation by causing conflicts and inefficiencies in driver communication with the system, resulting in increased CPU load.
What are the risks of ignoring high CPU usage caused by Windows Driver Foundation?
Ignoring high CPU usage caused by Windows Driver Foundation can lead to system slowdowns, performance issues, overheating, and potential system instability if not addressed promptly.
Can malware infections be a root cause of high CPU usage related to Windows Driver Foundation?
Yes, malware infections can contribute to high CPU usage related to Windows Driver Foundation as malicious software can interfere with system processes and lead to increased CPU utilization.