
Simple Storage Bucket in AWS is a fully managed, scalable, highly available data storage service. It allows users to upload, store, retrieve, replicate, and maintain versions of objects (data) uploaded to the S3 bucket. S3 buckets support other AWS services such as RDS, Lambda, Athena, etc. S3 bucket can store huge volumes of data in different formats such as MP3, images, CSV files, coding structures, log files, etc.
Learn more: Getting Started With Buckets: Overview of Amazon Simple Storage Service
Boto3 is a Python SDK used to connect, manage, access, manipulate, and maintain the AWS resources programmatically. It acts as an intermediary between the user and different AWS cloud resources such as EC2, SNS, DynamoDB, S3, etc.
What is the Client Interface in Boto3?
Developers can use two different abstractions to connect and access the AWS resources by using the Boto3 SDK i.e., Client and Resource. The client abstraction of the Boto3 SDK is considered a low-level interface. This interface allows developers to access and manipulate the AWS resources directly by specifying certain parameters explicitly.
Similarly, this low-level interface provides various distinct methods that map directly to the underlying AWS API service. These different methods include uploading files to the bucket, downloading objects, deleting files, creating multipart uploads, etc. In this tutorial, we will discuss the create_bucket() method of this interface.
Prerequisite
Before diving deep into the implementation of this method, there are some prerequisites to ensure the smooth access of S3 via code:
- AWS CLI is installed on the local machines.
- Visual Studio Code for executing the code
- Python runtime environment for using Boto3 SDK.
What is the “create_bucket()” Function in S3 Using Boto3?
For creating a bucket using Boto3 SDK of Python, the user must register with Amazon S3 and have valid permissions to access the service. By making a call to the create_bucket() method from the Client interface, AWS authenticates the user based on the Access Key ID provided at the time of logging into the AWS account. After the request is successfully authenticated, the bucket is created with the globally unique identifier and provided configurations.
Furthermore, the user can also customize the buckets by explicitly providing parameters such as LocationConstraint, GrantAccess, etc. For this purpose, the same function is used and called certain configurations. Users can achieve all types of functionality programmatically too as they were available while using the AWS Console.
Initial Configurations
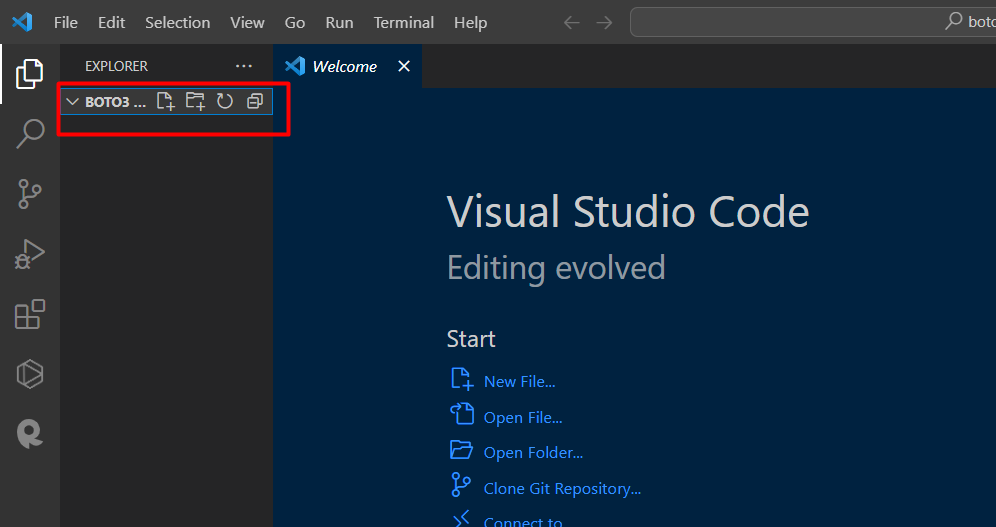
First, install the Boto3 SDK into the code directory. For this, create an empty folder and open it in the VS code:
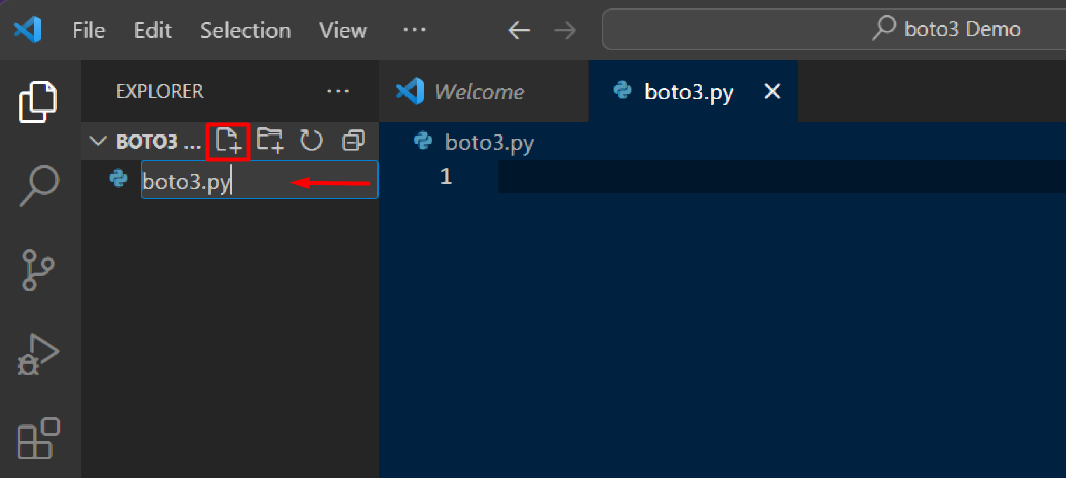
Within the Explorer section on the left of the VS code, click on the “New file” option and provide the name of the file with the “.py” extension:
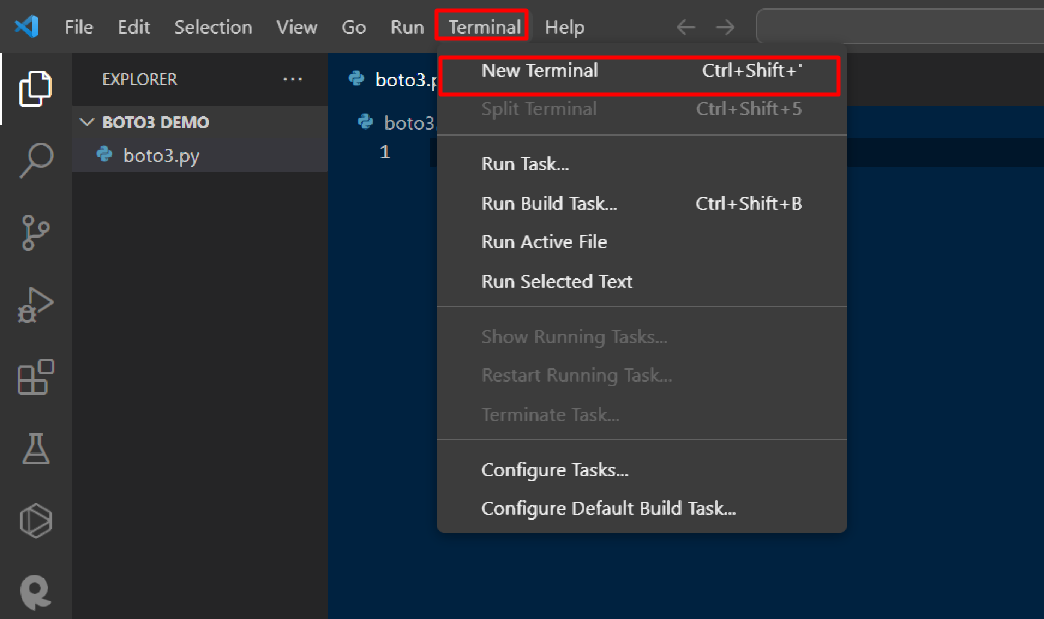
To install “Boto3”, open the terminal inside this folder. Click on the “Terminal” option from the toolbar. Tap the “New terminal” option from the drop-down list:
After the terminal is opened, use the following command to install the Boto3 SDK:
pip install boto3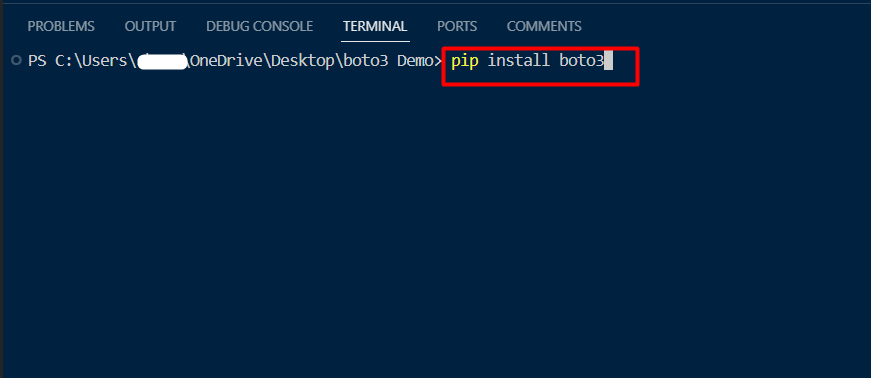
The SDK has been successfully installed. Next, log into the AWS account by providing the following command to the terminal. Provide the Secret Access key, Access key, etc of the AWS account to the terminal:
aws configure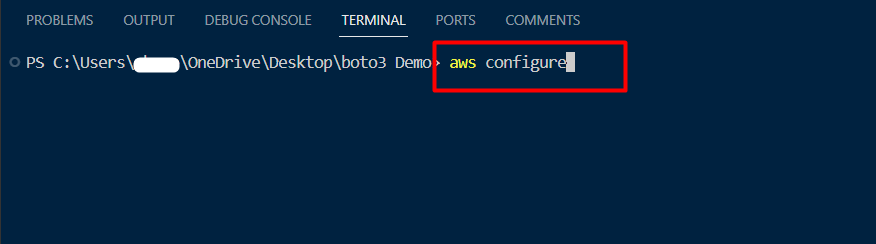
How to Use the “create_bucket()” Method in S3 Using Boto3?
Users can create a bucket programmatically in Amazon S3 by using the create_bucket() function of the Client interface. This section of the article discusses the following aspects of create_bucket() method:
Syntax
The syntax of the create_bucket() in the Python SDK is given as follows:
S3.Client.create_bucket(**kwargs)A brief description of the syntax is given below:
- S3: This variable will be used to import the client interface from boto3 SDK.
- Client: This keyword refers to the Client Interface.
- create_bucket(): the function that will be used to create a bucket. It accepts various parameters for customizing the bucket according to user preference e.g., versioning, encryption, ownership, etc.
Example: Creating the S3 Bucket With Default Settings Via Boto3
By using the above-mentioned syntax, a simple demonstration of the create_bucket() function is given below by using the following code:
import boto3
s3=boto3.client('s3')

list_objects=s3.create_bucket(Bucket="newbucket202319108",
                              CreateBucketConfiguration={
                                  'LocationConstraint':"ap-southeast-1"
                              })

print("successful")
The brief description of the above code is given below:
- create_bucket(): This function is used to create a Bucket in S3 service. Users can configure the S3 bucket by specifying certain parameters. These parameters can be either required or optional.
- Bucket: It is used to specify the name of the bucket. The name of the bucket must be unique across the AWS platform, otherwise, it will throw an exception. Replace the name “new bucket” with the bucket name in your AWS account.
- CreateBucketConfiguration: This section of the code is used to customize the bucket such as the read-write access, object lock feature, object ownership, etc.
- LocationConstraint: This parameter specifies the region of the S3 bucket. For this demo, we are creating the bucket in the “ap-southeast-1” AWS region.
Output
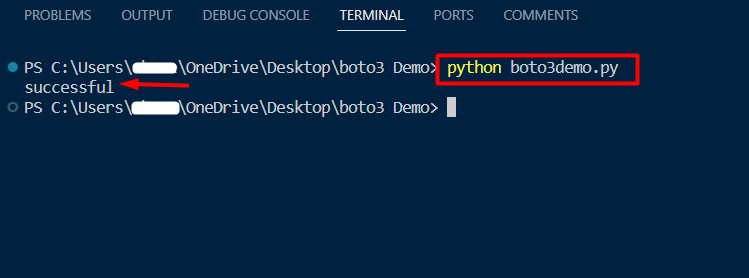
Provide the name of the Python file to the <FileName> for the execution of the code. In future, we will use the given command for the execution of the code:
python <FileName>After the execution of the code is complete, it should display the “successful” message:
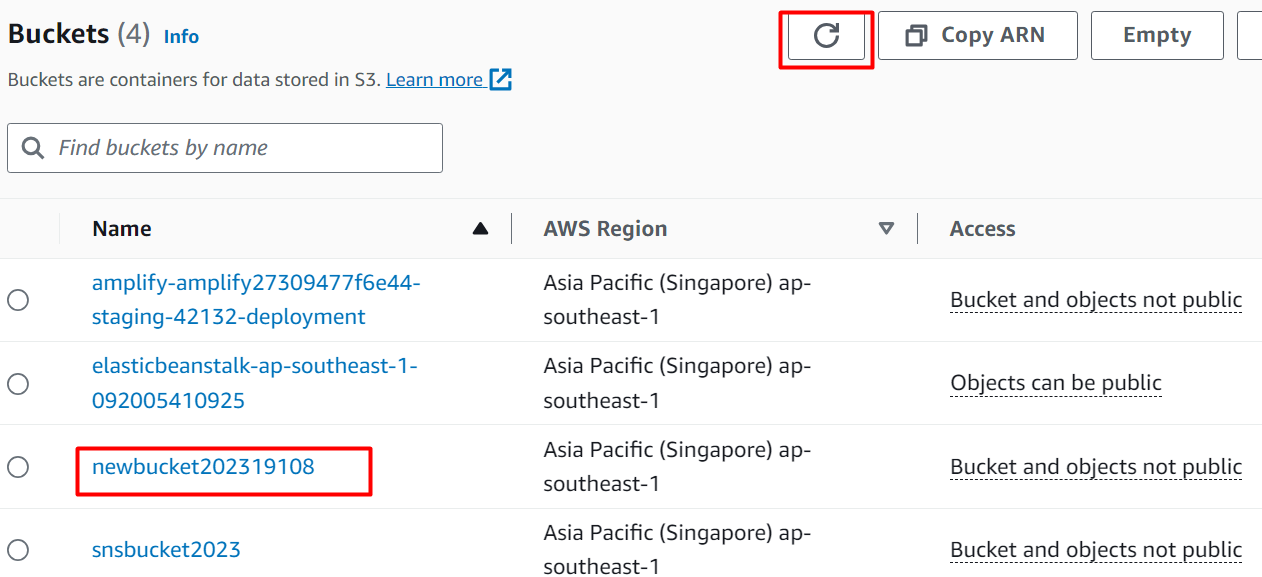
To verify if the new bucket has been created successfully or not, visit the AWS Management Console and tap the “Reload” button. Here, we can see that the new bucket has been created successfully:
This is all from this section.
How to Customize the S3 Bucket Using the “create_bucket()” in Boto3?
Users can enable and disable various options programmatically that are available when using the S3 Console. For this purpose, there are certain parameters that we can specify. Some of these parameters are required (compulsory to provide) and some are optional.
Syntax
The syntax for customizing the bucket using the “create_bucket()” function is given below:
response = client.create_bucket(
    ACL='private'|'public-read'|'public-read-write'|'authenticated-read',
    Bucket='string',
    CreateBucketConfiguration={
        'LocationConstraint': 'af-south-1'|'ap-east-1'|'ap-northeast-1'|'ap-northeast-2'|'ap-northeast-3'|'ap-south-1'|'ap-southeast-1'|'ap-southeast-2'|'ap-southeast-3'|'ca-central-1'|'cn-north-1'|'cn-northwest-1'|'EU'|'eu-central-1'|'eu-north-1'|'eu-south-1'|'eu-west-1'|'eu-west-2'|'eu-west-3'|'me-south-1'|'sa-east-1'|'us-east-2'|'us-gov-east-1'|'us-gov-west-1'|'us-west-1'|'us-west-2'|'ap-south-2'|'eu-south-2'
    },
    GrantFullControl='string',
    GrantRead='string',
    GrantReadACP='string',
    GrantWrite='string',
    GrantWriteACP='string',
    ObjectLockEnabledForBucket=True|False,
    ObjectOwnership='BucketOwnerPreferred'|'ObjectWriter'|'BucketOwnerEnforced'
)
Following is the description of the above-mentioned parameters:
- ACL: The ACL( Access Control List) defines the access permissions of the S3 bucket and its contents. By specifying this field in the create_bucket() function, the user can define a set of predefined permissions for the other users. Users can specify options such as private, public-read-write, authenticate-read, etc.
- Bucket: This field is used to input the name of the Bucket which must be unique globally and available across the AWS platform. It is a required parameter.
- CreateBucketConfiguration: This field is used to specify the configuration information for the bucket.
- LocationConstaraint: By using this option, the user can define the region of the bucket. It accepts names of different AWS regions as parameters.
- GrantFullControl: This field is used to assign certain permissions to other users of the bucket e.g., “READ”, “WRITE”, “READ_ACP”, “WRITE_ACP”, “FULL_CONTROL”.
- GrantRead: This field allows other users to list the contents of the bucket.
- GrantReadACP: This parameter enables the users to read the bucket ACL.
- GrantWrite: It allows the users to create new objects within the bucket.
- GrantWrtieACP: It enables the users to write the ACL of the bucket.
- ObjectEnabledForBucket: This field allows users to specify whether the object lock features should be enabled for the bucket. It accepts True or False as its value and is of Boolean type.
- ObjectOwnerShip: It specifies the ownership of the bucket and defines the permissions of the object owner.
Example: Customize the S3 Bucket Using the “create_bucket()” Method in Boto3
For instance, a user wants to create a bucket that is privately accessible and has an object lock enabled. There are certain modifications that we will make in the code. For this purpose, the code will be modified in the following manner:
import boto3
s3=boto3.client('s3')

list_objects=s3.create_bucket(ACL="private",Bucket="newbucket191008",
                              CreateBucketConfiguration={'LocationConstraint':"ap-southeast-1"},
                              ObjectLockEnabledForBucket=True
                              )

print("successful")
Here is a brief description of the parameters of code:
- ACL= “private”: The “Access Control List” (ACL) allows users to manage access to the S3 buckets and objects. By specifying it with the “private” field, the object and S3 bucket will only be manipulated by the bucket owner. It accepts various options such as public-read, public-read-write, etc.
- ObjectLockEnabledForBucket: allows users to specify if the object lock is enabled for the objects in S3. It accepts Boolean value i.e., True or False.
Output
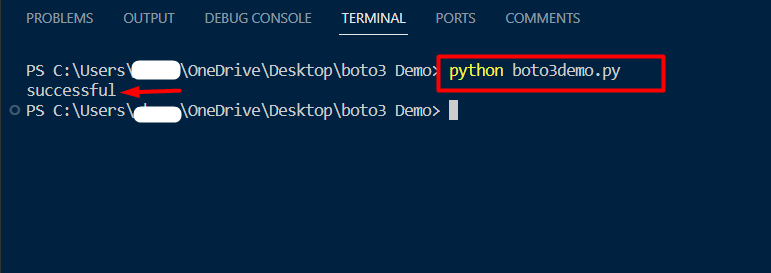
The Python file has been executed by using the following code.
python <FileName>The output window displayed the “successful” message as specified in the print statement upon the completion of the code:
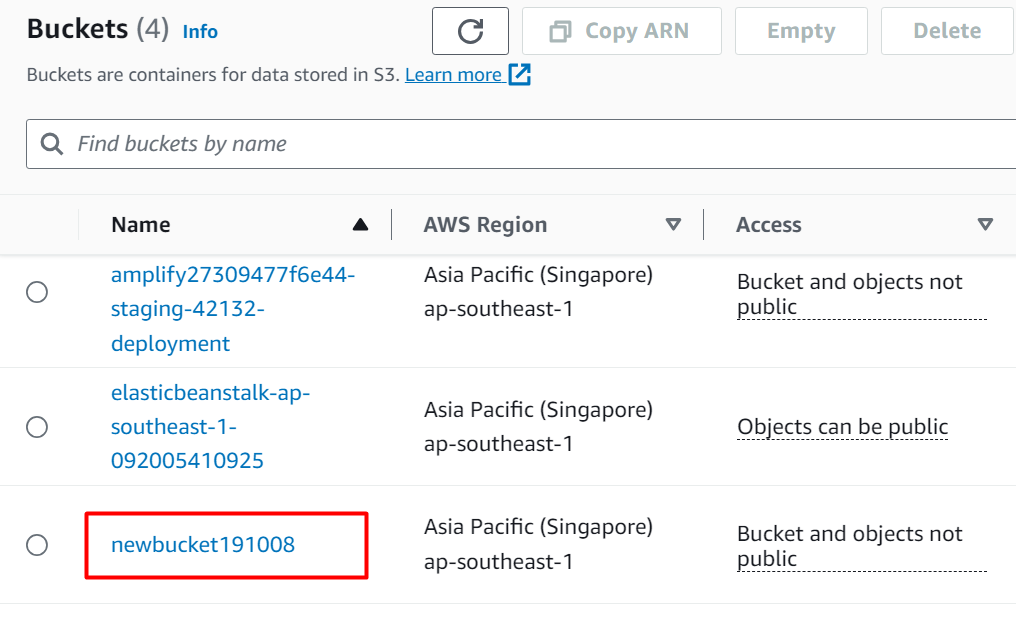
To verify if the bucket has been created with the required configuration, reload the S3 dashboard and click the bucket’s name:
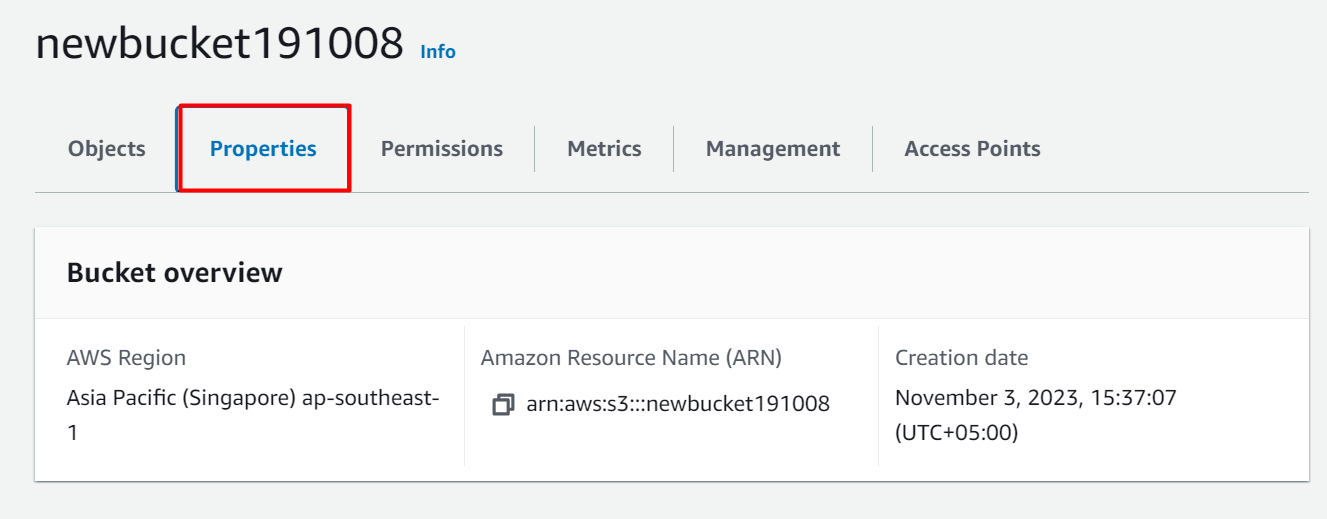
Click the Properties tab from the given options:
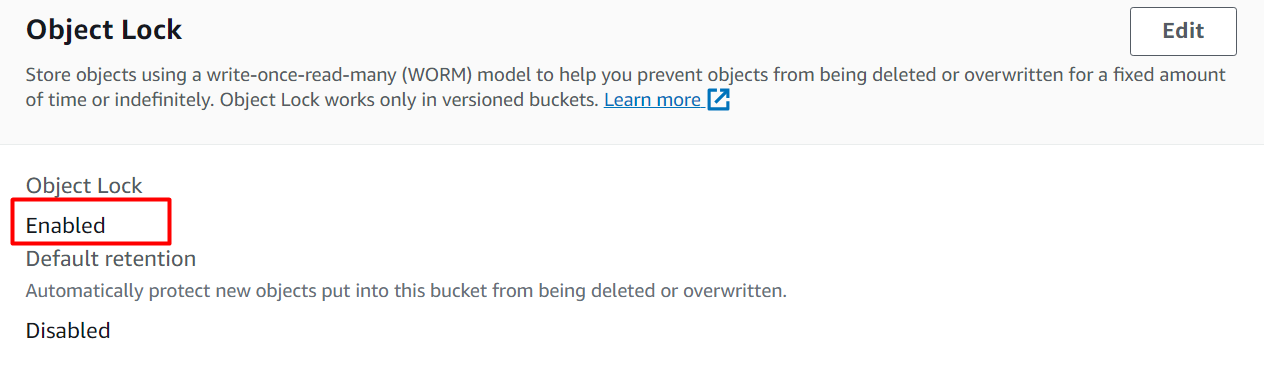
Scroll down to the “Object lock” section. From this section, we can see that it has been enabled for the particular bucket:
That is all from this section of the tutorial.
What are the Exceptions in Creating Bucket Using Boto3?
Commonly, two types of exceptions occur while using the create_bucket() function. Below mentioned are the names and solution of these two exceptions
- Exception 1: S3.Client. exceptions.BucketAlreadyExists
- Exception 2: S3.Client.exceptions.BucketAlreadyOwnedByYou
Exception 1: S3.Client. exceptions.BucketAlreadyExists
This error occurs when the name of the bucket specified in the “Bucket” field is not globally unique and has been specified by some other user across the AWS Platform. Hence, the following error occurs:
Solution: This error can be resolved by providing a unique name for the bucket. Users can specify a unique combination of numbers with the bucket’s name for creating a unique identifier. Note that the naming conventions for the S3 bucket must be followed as specified in the AWS documentation.
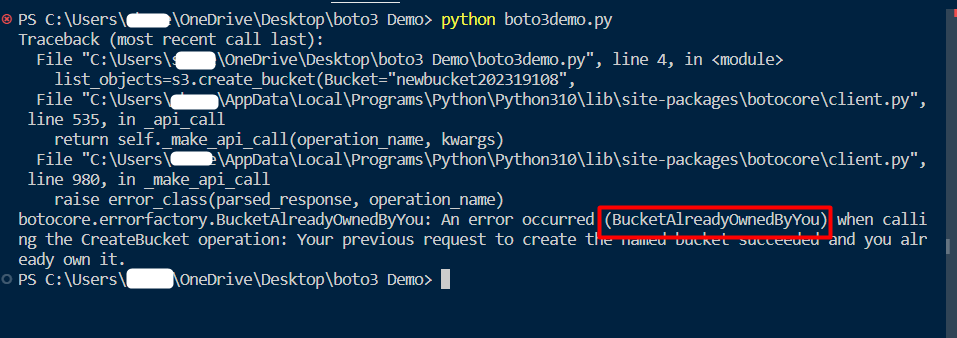
Exception 2: S3.Client.exceptions.BucketAlreadyOwnedByYou
As suggested by the name, this exception occurs when a bucket with the name specified in the code already exists on the S3 dashboard:
Solution: To resolve this error, the user can either delete the existing bucket with the same name from the S3 dashboard or provide a new name for the bucket and then execute the code again.
Conclusion
To use the Boto3 “create_bucket()” method, provide parameters to the create_bucket() method for configuring the S3 bucket and then, execute the code file. The user can access the S3 service of AWS by logging into the AWS account from the CLI after providing the Secret Access Key, Access Key, Account ID, etc. It is important to consider that the Boto3 SDK is supported by the Pyhton3. The Python3 Runtime environment must be installed on the system for the execution of the code. This article provides a step-by-step demonstration of creating the S3 bucket using the boto3 create_bucket() method.