
Java is the most popular programming language, used for the development of desktop and mobile applications. Java is a cross-platform programming language, which means that you can run its code on different operating systems having different hardware architectures. This facility makes it more universal. Java supports Object Oriented Paradigm, so this functionality provides flexibility to different programmers to program the applications in a more efficient manner. However, when it comes to installation, the installation process can be tedious due to many errors. One of the errors, that we face in many Linux distributions is the “Java_Home” environment variable.
In this article, we will see the possible solution for this error.
How to set JAVA_HOME in Ubuntu 22.04 for all users?
In Ubuntu 22.04 Java Development Kit(JDK) is not installed by default. If you want to program in Java on Ubuntu 22.04 you should install the JDK. After installation, you can set up the JAVA_HOME environment variable, because if you do not set the path, the system will give an error that you have not set up the java_home environment variable.
Follow these steps, to install and set up the Java_Home variable environment path.
Step 1: Check the Version of Java
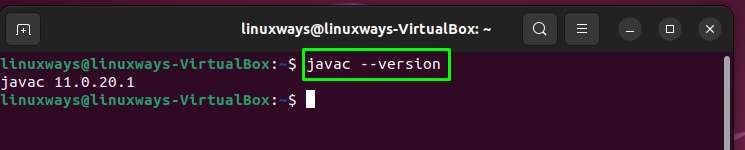
Use the following command to see that the Java is installed or not:
$ javac -versionThe command will display the version if the java is installed on the system:
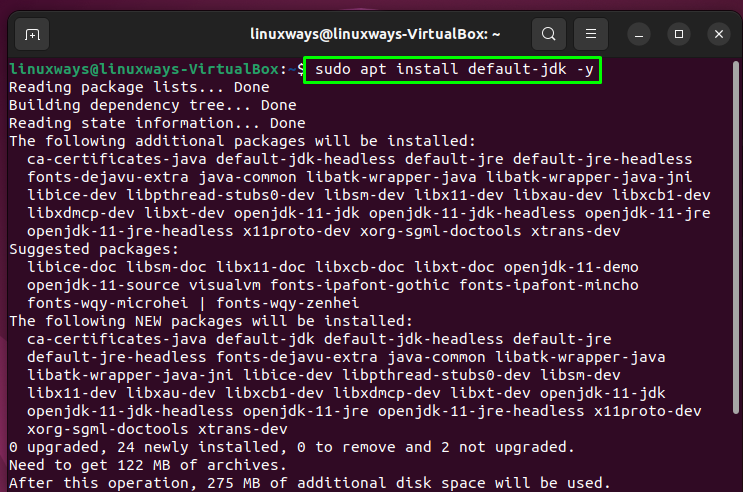
If Java is not installed on your system, the command will display the error,” javac command not found”, then you can run the following command to install Java on your system:
$ sudo apt install default-jdk -yThe command will install the Java Development Kit (JDK):
Now you are ready to set up the Java_Home path.
Step 2: Get the Path of the Java Compiler
The Java compiler executable file path can be determined by the following command:
$ which javaThe command will display the path as follows:

Now follow these commands to set up the path for the desired directory:
$ ls -l /usr/bin/javacThe command will display the next directory path:
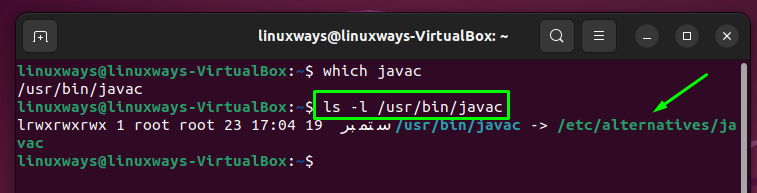
Navigate to the next directory by using the following command:
$ ls -l /etc/alternatives/javacThe command will result in the next directory path:

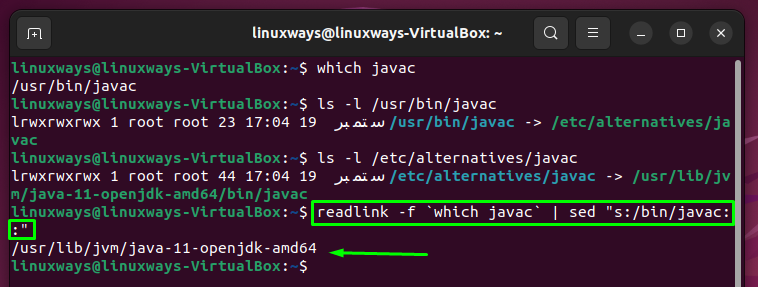
Now we have all done this, now you can set the path to the JAVA_HOME variable. You can use the following command to acquire the actual executable file:
$ readlink -f 'which javac' | sed "s:/bin/javac::"The command will give the actual executable file path:
Step 3: Setting Up JAVA_HOME Variable
Now you have the value of Java executable file you can set the path by using the following command:
$ export JAVA_HOME=/usr/lib/jvm/java-11-openjdk-amd64The command will set the Java_Home variable path:
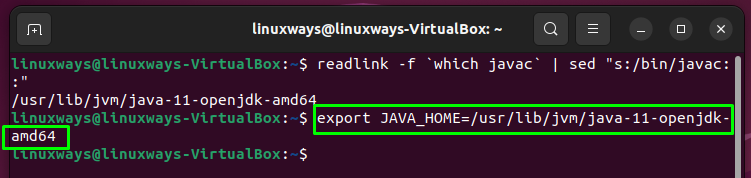
But keep in mind that, in your case the part after the “=” sign can be different due to different JDK version, so replace the command text accordingly.
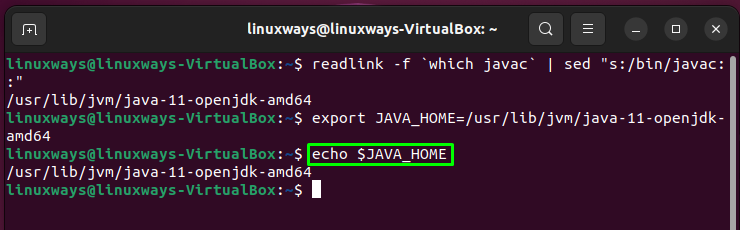
Verify Java_Home Directory Path
Use the following command to check the value of Java_Home:
$ echo $JAVA_HOMEThe command will display the value of the environment variable:
Now use the following command to use the correct path that is displayed by the above command:
$ echo "export JAVA_HOME=/usr/lib/jvm/java-11-openjdk-amd64" >> ~/.bashrcThe command will accurately set up the path:

Now reboot the system so that we can verify that the path for the JAVA_HOME environment variable is set permanently.
Now you can execute the following command to verify the JAVA_HOME environment variable:
$ tail -3 ~/.bashrcThe command will display the path specified by us:

This is how you can set the JAVA_HOME in Ubuntu 22.04.
Conclusion
To set up the JAVA_HOME environment variable path in Ubuntu 22.04, you can use the terminal by executing different commands. All the commands are mentioned and executed, you can follow the above steps to solve this problem. In this article, we have explained how you can set the Java_Home variable in Ubuntu 22.04.