
The recurrent “Preparing Automatic Repair” loop in Windows 10 is a frequent problem faced by numerous users. As a critical component of the system’s self-repair mechanism, Automatic Repair is designed to rectify common system errors automatically.
However, it can occasionally malfunction, getting trapped in a repetitive cycle without ever resolving the problem. When this happens, users find themselves locked out of their system, with the loop presenting a significant barrier to accessing their data and applications.
This guide aims to dissect the problem and provide actionable solutions, ensuring that users can regain control of their systems promptly.
What is the Automatic Repair Loop?
Windows 10 comes with a built-in feature called “Automatic Repair,” designed to fix common system errors. However, sometimes, instead of fixing, it gets caught in its loop, leaving users stranded.
Why Does it Happen?
There are several reasons, including corrupted system files, faulty hardware, incomplete updates, or bad disk sectors. But no matter the cause, there’s a fix!
Common Symptoms
Prior to delving into the solutions, it’s crucial to be aware of the indicators. The most prominent symptom is a continuous loop of the “Preparing Automatic Repair” screen, continued by a “Diagnosing your PC” message. If your computer keeps returning to these screens without accessing the Windows platform, you’re likely stuck in the loop.
Step-by-step Solutions to the Problem
1: Restarting Your Computer
One of the initial steps in troubleshooting is to perform a straightforward restart:
- Press and hold the power button until the computer turns off.
- Wait for approximately 10 seconds to ensure a thorough shutdown.
- Turn the computer back on.
2: Booting into Safe Mode
Safe Mode is a diagnostic mode that allows Windows to run with the bare minimum drivers, facilitating the identification and resolution of issues.
- As your computer starts, press the F8 or Shift + F8 keys simultaneously.
- From the ensuing menu, select “Troubleshoot.”
- Navigate to “Advanced options” and then “Startup Settings.”
- Click on “Restart.” Once the computer restarts, select “Enable Safe Mode.”
3: System Restore
System Restore is a utility that lets you return your system’s state to that of a previously saved restore point, potentially reversing recent changes that triggered the loop.
- Access the “Advanced boot options” by following the Safe Mode steps.
- Select “System Restore” and choose a restore point before the onset of the loop.
- Follow the instructions that appear on the screen to complete the process.
4: Checking the Disk for Errors
Faulty sectors or errors on the disk can lead to the Automatic Repair loop.
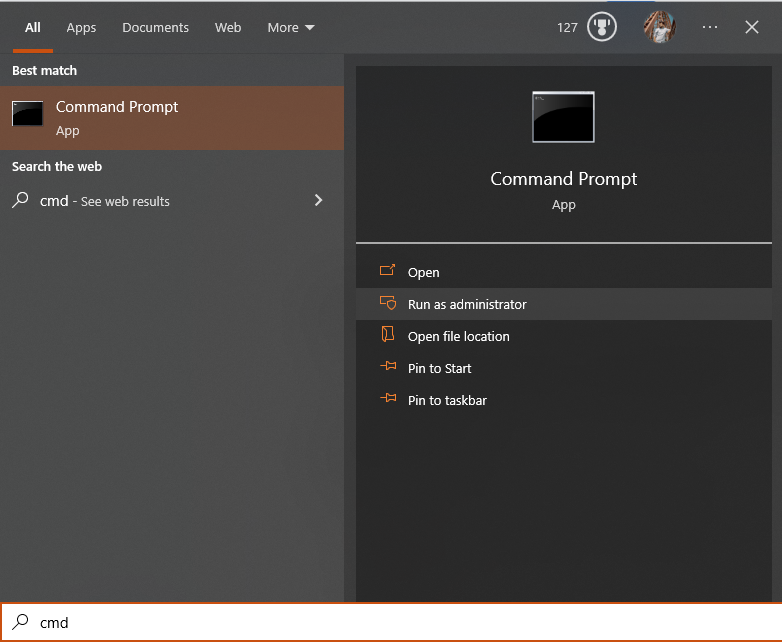
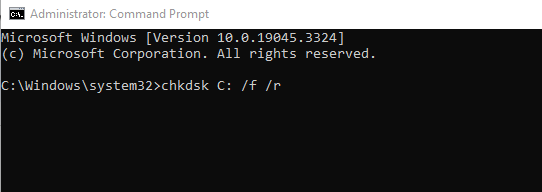
- Open the Command Prompt with administrative rights.
- Type chkdsk C: /f /r and press Enter. This command will check and repair any found disk errors.
- Allow the process to complete, which might require a restart.
5: Disabling Automatic Repair
In cases where the loop persists, disabling the Automatic Repair function might be the solution.
- Boot your computer into the Advanced Recovery environment.
- Choose “Command Prompt.”
- Type bcdedit /set {default} recoveryenabled No and press Enter. This command disables the Automatic Repair for subsequent boot-ups.
Remember: Disabling Automatic Repair is a temporary measure and shouldn’t be a long-term solution. It’s crucial to investigate and rectify the root causes leading to the loop to ensure smooth system operation.
Preventing Future Issues
1: Keeping Windows Updated
Staying updated is paramount to a healthy system. Windows updates not only provide new features but also deliver critical patches and fixes for known issues.
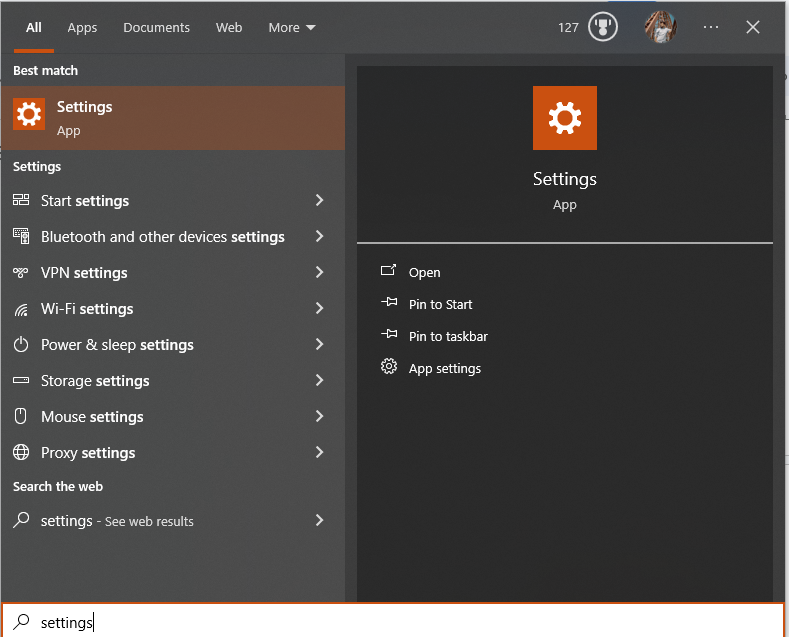
- Open “Settings” from the Start menu.
- Navigate to “Update & Security.”

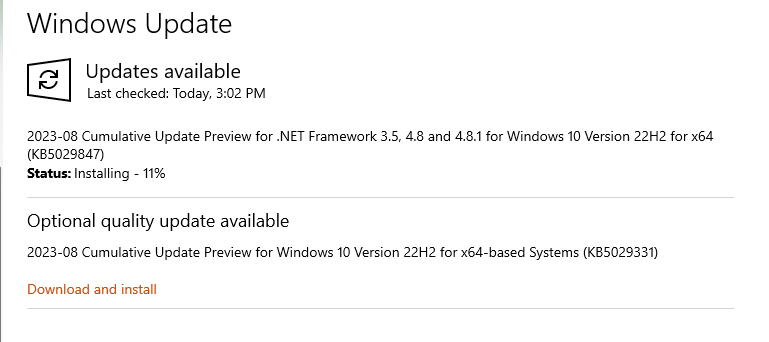
- Ensure “Windows Update” is selected on the left pane, then click “Check for updates” on the right.
- Install any pending updates and reboot the system if prompted.
2: Regular Backups
Backing up your system frequently ensures that you have a recent version of your data and system settings saved securely. This step is crucial to quickly recover from any unforeseen system malfunctions.
- Use the built-in “Backup and Restore” feature of Windows. Navigate to Control Panel > System and Maintenance > Backup and Restore.
- Set up an automatic backup schedule, choosing the files and folders you want to back up.
- Regularly verify the integrity of your backups by occasionally restoring a file or folder to ensure the backup isn’t corrupted.
3: Regularly Scan for Malware
Malicious software can compromise system files and lead to issues like the Automatic Repair loop.
- Install reputable anti-malware software if you haven’t already.
- Set up regular, automatic scans to ensure continuous protection.
- Update the malware definitions regularly to stay protected against the latest threats.
4: Monitor Hardware Health
Faulty hardware components, especially the hard drive or RAM, can cause system instability.
- Utilize built-in diagnostic tools or third-party software to regularly assess the condition of your hardware.
- Replace any components showing signs of failure promptly to prevent system-wide issues.
By proactively addressing these areas, you reduce the risk of encountering the Automatic Repair loop and other related problems, ensuring a smoother and more reliable computing experience.
Conclusion
Windows 10’s Automatic Repair loop, though frustrating, is not unbeatable. Armed with the appropriate tools and a dose of patience, you can restore your system to its optimal condition. Remember to keep things updated and always backup your data for peace of mind!