
Ever tried putting your Windows 11 computer to sleep, only to find it waking up on its own or refusing to sleep at all? We feel your frustration. But don’t worry, we’ve got your back. Within this manual, we shall extensively delve into comprehending the issue and, of paramount importance, rectifying it.
Common Reasons Sleep Mode Might Not Work
Sleep mode is a great feature, but sometimes, it throws a tantrum. Why might this happen?
1. Hardware Issues:
- Peripheral Devices: Devices like external hard drives, USB drives, printers, and even certain keyboards or mice might send signals that prevent the PC from entering or staying in sleep mode.
- Internal Components: Faulty RAM or malfunctioning internal components can disrupt the sleep function.
2. Software Glitches:
- Background Processes: Some background applications or services, especially those that constantly run or sync, can interfere with sleep mode.
- Incompatible Programs: Older software not updated or optimized for Windows 11 might conflict with sleep operations.
3. Driver Conflicts:
- Outdated Drivers: Old or incompatible drivers, especially those related to graphics, audio, or network components, can impede the proper functioning of sleep mode.
- Corrupted Drivers: Sometimes, drivers can become corrupted due to software updates or other system changes. This corruption can prevent certain functionalities, including sleep mode.
4. Power Settings Misconfiguration:
- If power settings are misconfigured, the PC might not recognize when to enter sleep mode. For instance, sleep settings might be set to ‘Never’, or certain power-saving features might be turned off.
5. Scheduled Tasks:
- If you have tasks scheduled to run at specific times, such as updates or backups, they can wake up your PC or prevent it from sleeping.
6. Network Activity:
- Some PCs are set to wake up when they detect network activity. This can be especially prevalent if you have shared files or printers.
Step-by-step fixes for Windows 11 Sleep Mode Not Working
Now, let’s get to the meat of the matter. How do you fix it?
1. Checking Power Settings:
Navigate to the Settings app on your Windows 11:
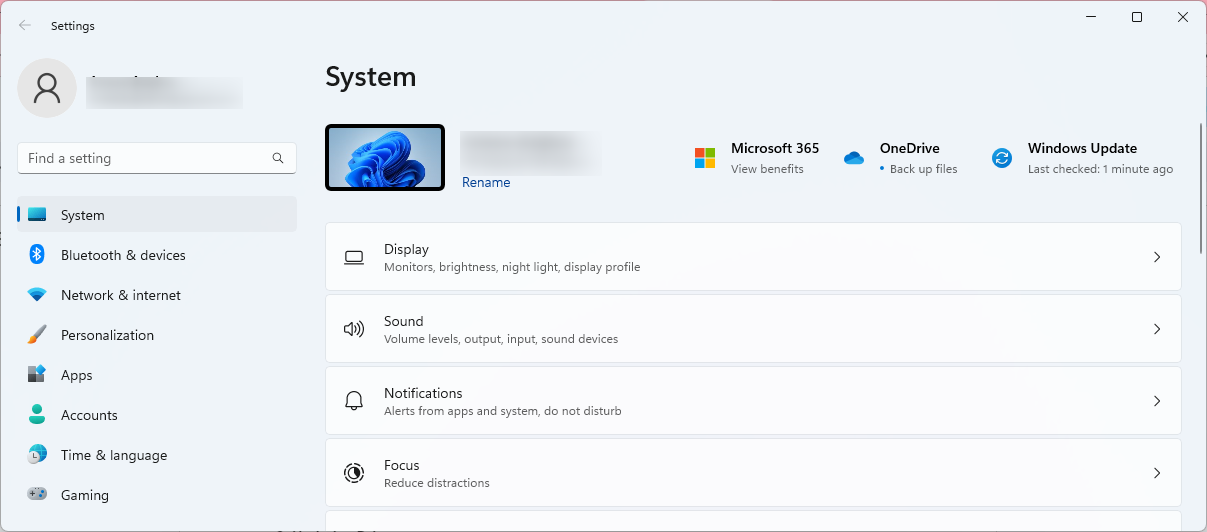
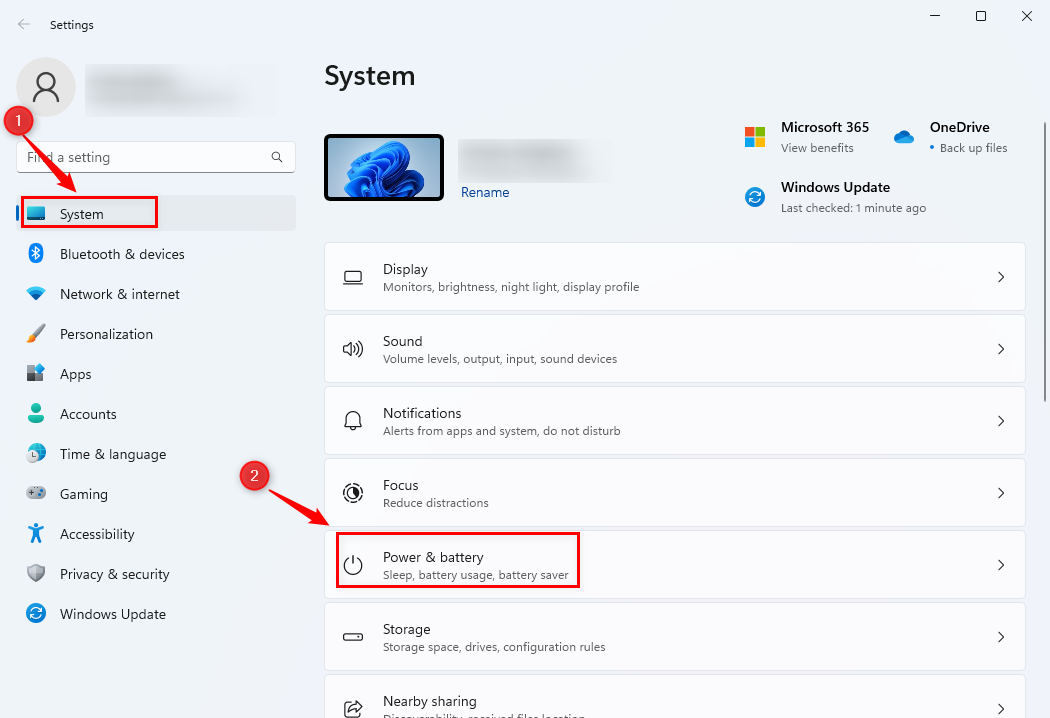
Go to System, then choose Power & Battery:
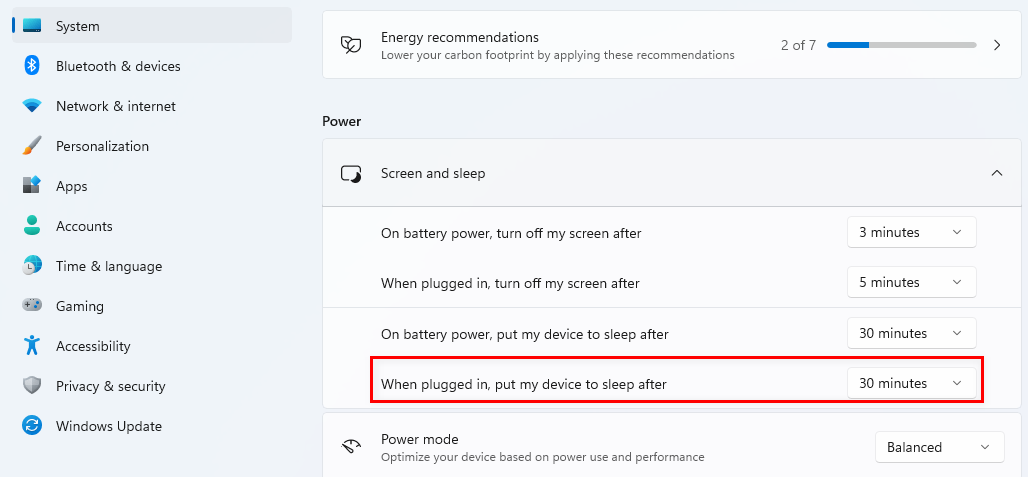
Review the settings under Power. Ensure that the time set under “When plugged in, put my device to sleep after ” is not set to “Never”. Adjust it to a suitable time frame, e.g., 15 minutes or 30 minutes:
Save any changes made.
2. Troubleshooting Hardware:
- Disconnect all external devices like USB drives, printers, and external hard drives.
- Try to put the computer to sleep. If it successfully goes to sleep, start reconnecting devices one by one, putting the computer to sleep after each device is connected. This can help identify the device causing the sleep interruption.
- Once identified, you may need to update the device’s drivers, change its settings, or in rare cases, replace it.
3. System Restore:
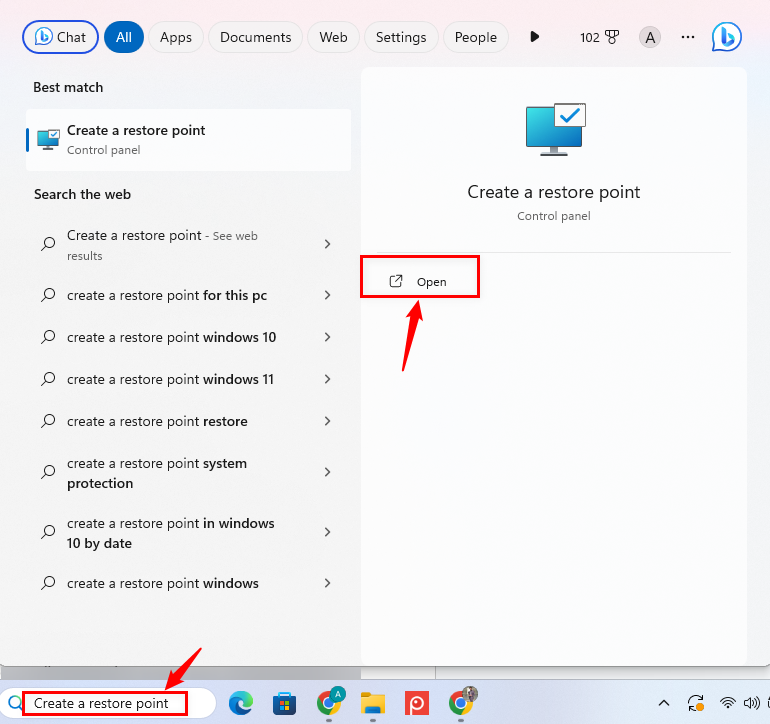
Type “Create a restore point” in the Windows search bar and select the corresponding result:
In the System Properties window, click on the System Restore button:
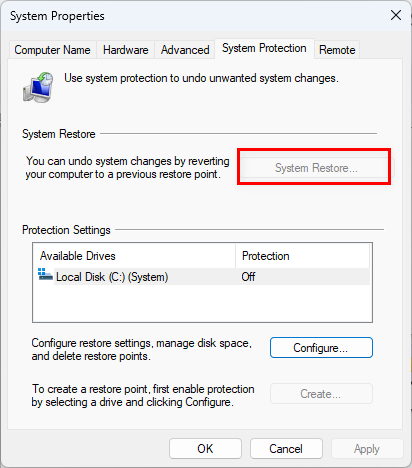
Follow the on-screen prompts to choose a restore point from when your sleep mode is working correctly. Confirm the restore point and allow the process to complete. This will revert any system changes that might have caused the sleep mode issues, but won’t affect personal files.
Conclusion
Fixing the sleep mode issue on Windows 11 might require some patience and a bit of trial and error. Yet, adhering to these instructions, you are now adequately prepared to guarantee your computer receives its essential reprieve. Wishing your PC restful slumber and pleasant reveries!