
OpenCV (Open Source Computer Vision) is a cross-platform Python library commonly used in computer vision tasks such as Deep Learning, Image processing, Augmented Reality, and Object Detection. It does not come pre-installed with Python, so you need to install it separately.
Quick Answer: To install OpenCV in Python, run pip install opencv-python in your terminal or command prompt. For headless servers with no display, use pip install opencv-python-headless. Verify the install with import cv2; print(cv2.__version__).
OpenCV Package Variants
OpenCV offers four official pip packages. Choosing the right one avoids dependency conflicts, especially on Linux servers:
| Package | GUI Support | Extra Modules | Best For |
|---|---|---|---|
opencv-python |
Yes | No | Desktop and local development |
opencv-python-headless |
No | No | Servers, Docker, cloud environments |
opencv-contrib-python |
Yes | Yes (SIFT, SURF, etc.) | Advanced computer vision research |
opencv-contrib-python-headless |
No | Yes | Advanced CV on servers |
How to Install OpenCV in Python (via Anaconda)
To install OpenCV using Anaconda, first download and install Anaconda from its official website by clicking the Download button:

The package is large so downloading may take some time. Once installed, open the Windows Search Box and search for Anaconda Prompt:
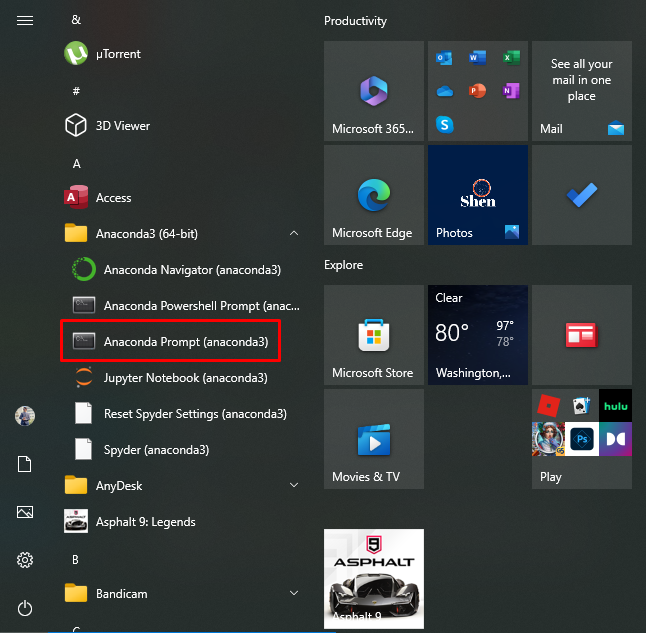
In Anaconda Prompt, run the following command to install OpenCV:
pip install opencv-python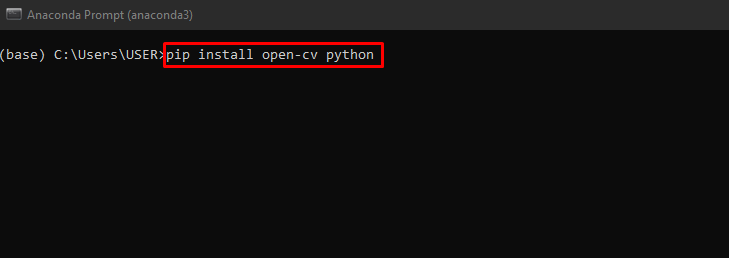
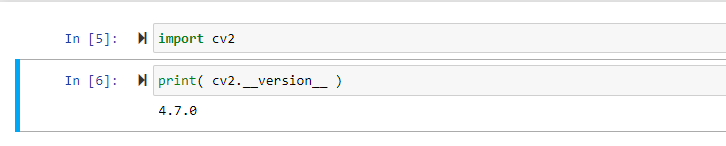
Verify the installation by checking the OpenCV version in Jupyter Notebook:
How to Install OpenCV in a Virtual Environment (VSCode)
Using a virtual environment keeps your OpenCV installation isolated from other projects. Open VSCode, click on the terminal at the bottom, and switch from PowerShell to Command Prompt:
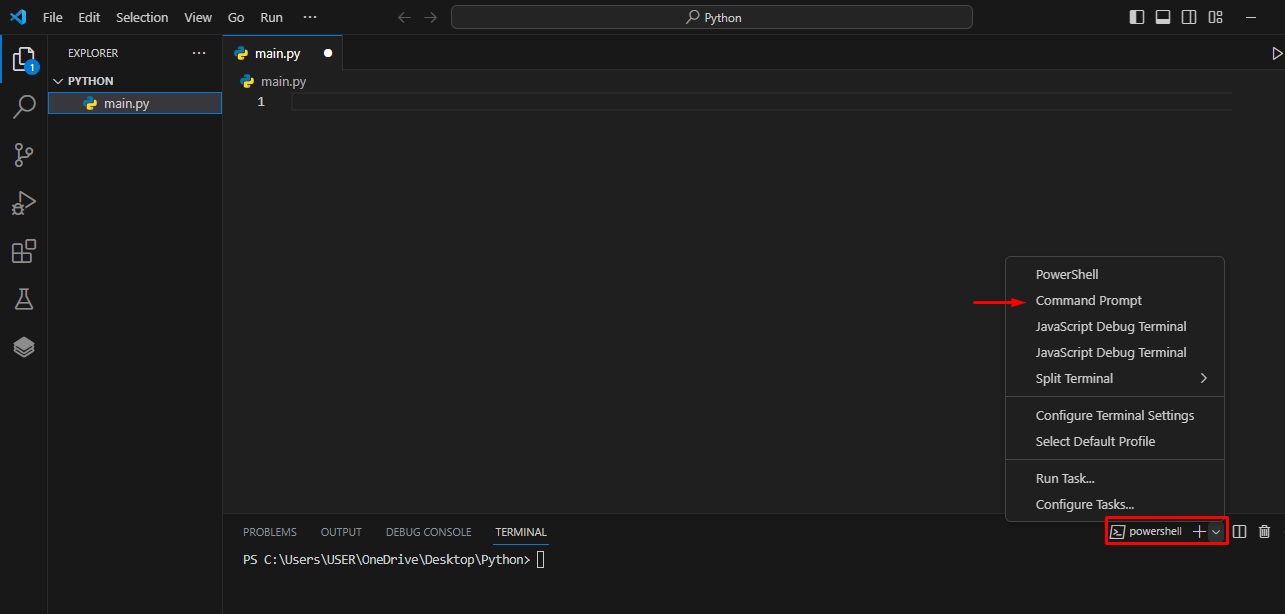
Create a virtual environment (replace opencv with your preferred name):
python -m venv opencv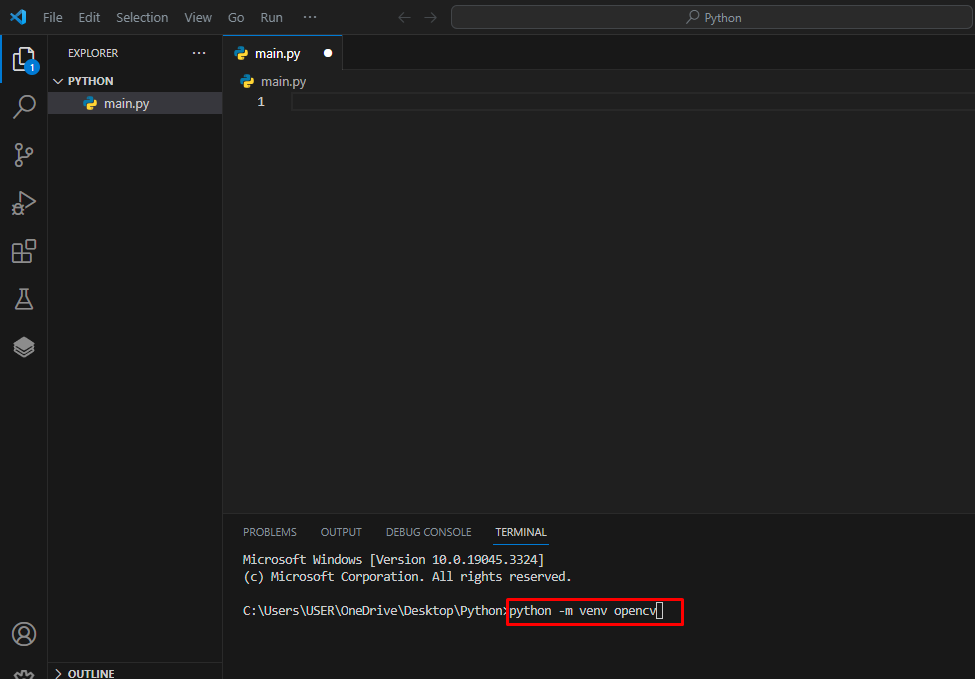
A new environment folder is created in your project directory:
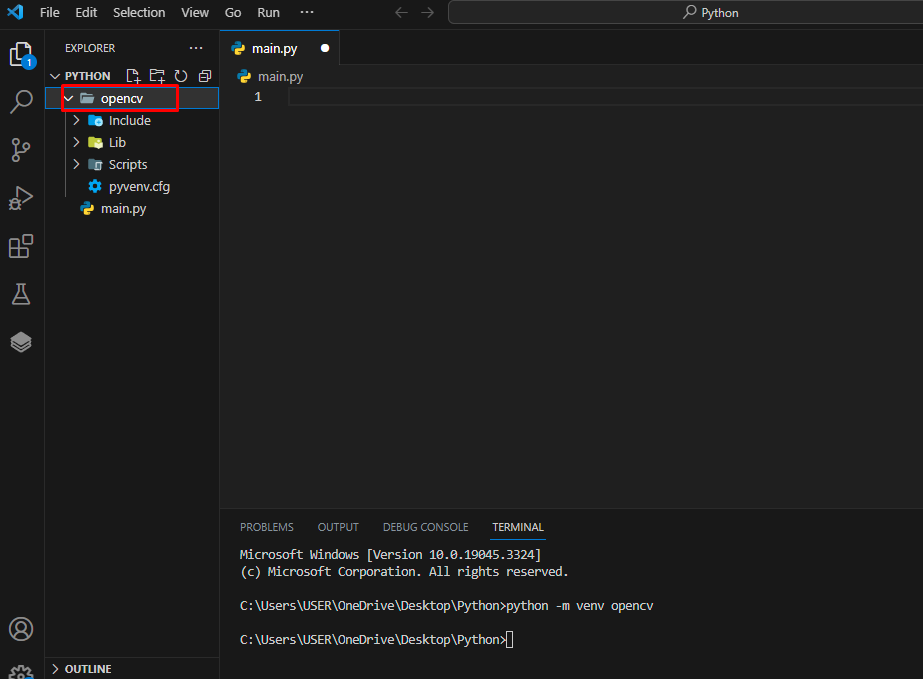
Activate the virtual environment:
opencv\Scripts\activate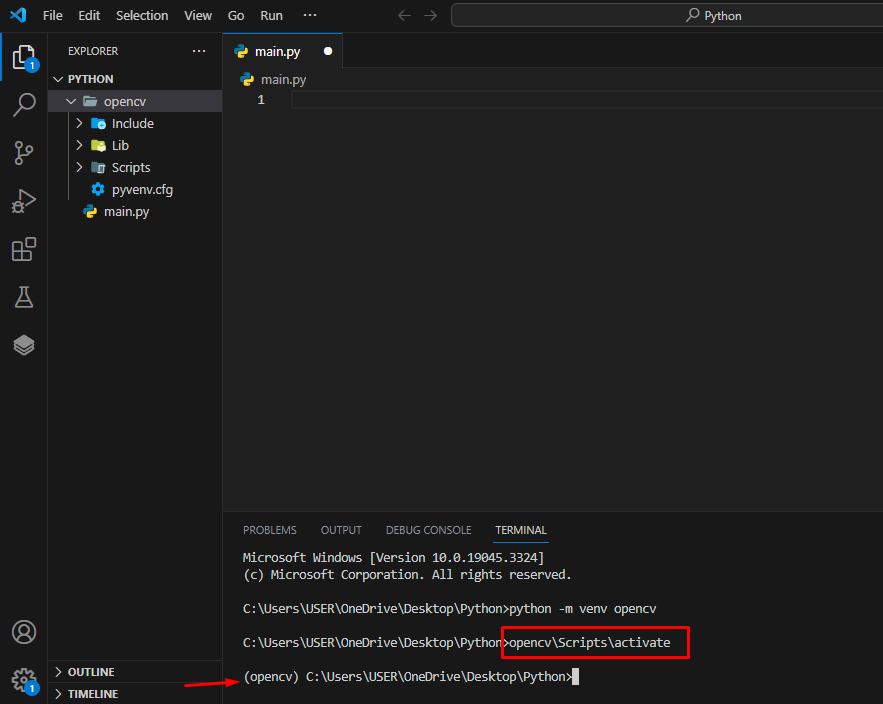
Now install OpenCV inside the activated environment:
pip install opencv-python
How to Verify OpenCV Installation
After installation, verify OpenCV is working before starting your project:
import cv2
print(cv2.__version__)
A successful installation prints the version number (e.g., 4.9.0). If you see a ModuleNotFoundError, ensure you installed OpenCV in the correct Python environment — the one your editor or script is using.
Conclusion
Install OpenCV in Python using pip install opencv-python — this works in any terminal, Anaconda Prompt, or virtual environment. For headless servers or Docker containers, use pip install opencv-python-headless to avoid display dependencies. For advanced computer vision features like SIFT and SURF, use opencv-contrib-python instead. Always verify the installation with import cv2; print(cv2.__version__) before starting your project.