
Video editing has become an increasingly popular form of artistic expression and communication. With the proliferation of social media, vlogs, YouTube channels, and other online platforms, the demand for high-quality video content has grown exponentially.
To meet these demands, video editing software has evolved to provide powerful tools for both amateurs and professionals. One such tool that has gained a widespread recognition in the industry is DaVinci Resolve.
DaVinci Resolve is a professional-grade video editing software that offers a wide range of features and capabilities, making it a favorite among filmmakers, video editors, and content creators. It is renowned for its advanced color correction and grading capabilities, powerful audio post-production tools, and comprehensive video editing features.
While it is available for multiple operating systems, this article focuses on installing and using DaVinci Resolve on Pop!_OS, a popular Linux distribution that is known for its user-friendly experience and excellent compatibility with creative applications.
Getting Started with Pop!_OS
Before diving into the installation and usage of DaVinci Resolve, let’s start with an introduction to Pop!_OS. Pop!_OS is a Linux distribution developed by System76, a company that specializes in Linux-based hardware and software solutions. Pop!_OS is designed to be user-friendly, efficient, and visually appealing. It is built on the Ubuntu operating system, ensuring the compatibility with a wide range of Linux software and applications.
Pop!_OS comes in two variants: the LTS (Long-Term Support) version and the current version. For the purpose of this guide, we will use the current version which may have the latest software updates and features. However, the installation process for DaVinci Resolve is similar on both versions of Pop!_OS.
System Requirements
Before you begin the installation process, it’s essential to ensure that your system meets the necessary requirements to run DaVinci Resolve effectively. While Pop!_OS is generally lightweight, DaVinci Resolve has specific hardware requirements due to its demanding features:
- 64-bit multi-core processor
- A minimum of 16 GB RAM (32 GB or more is recommended)
- Dedicated GPU with at least 2 GB of VRAM
- Display with a minimum resolution of 1920 x 1080 pixels
- 1 GB of disk space for installation
- Reliable internet connection for activation and updates
Preparing Your System
Before you can install DaVinci Resolve on Pop!_OS, make sure that your system is up to date. Open a terminal and run the following commands:
$sudo apt update && sudo apt upgrade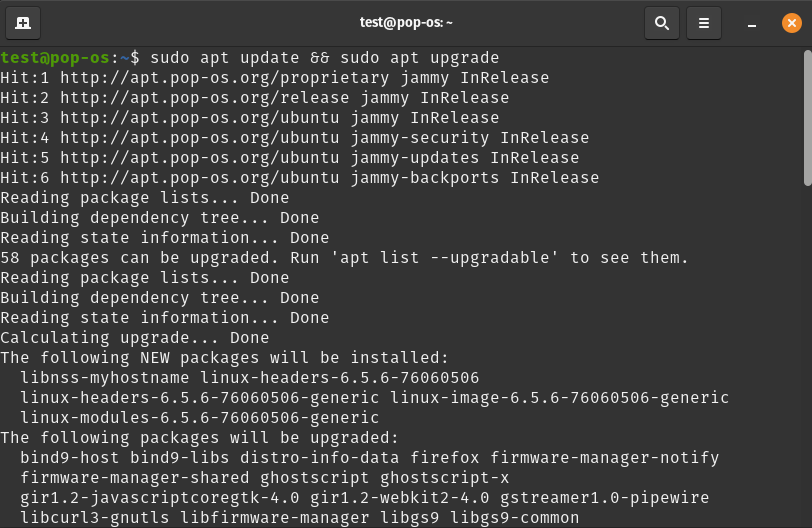
Downloading DaVinci Resolve
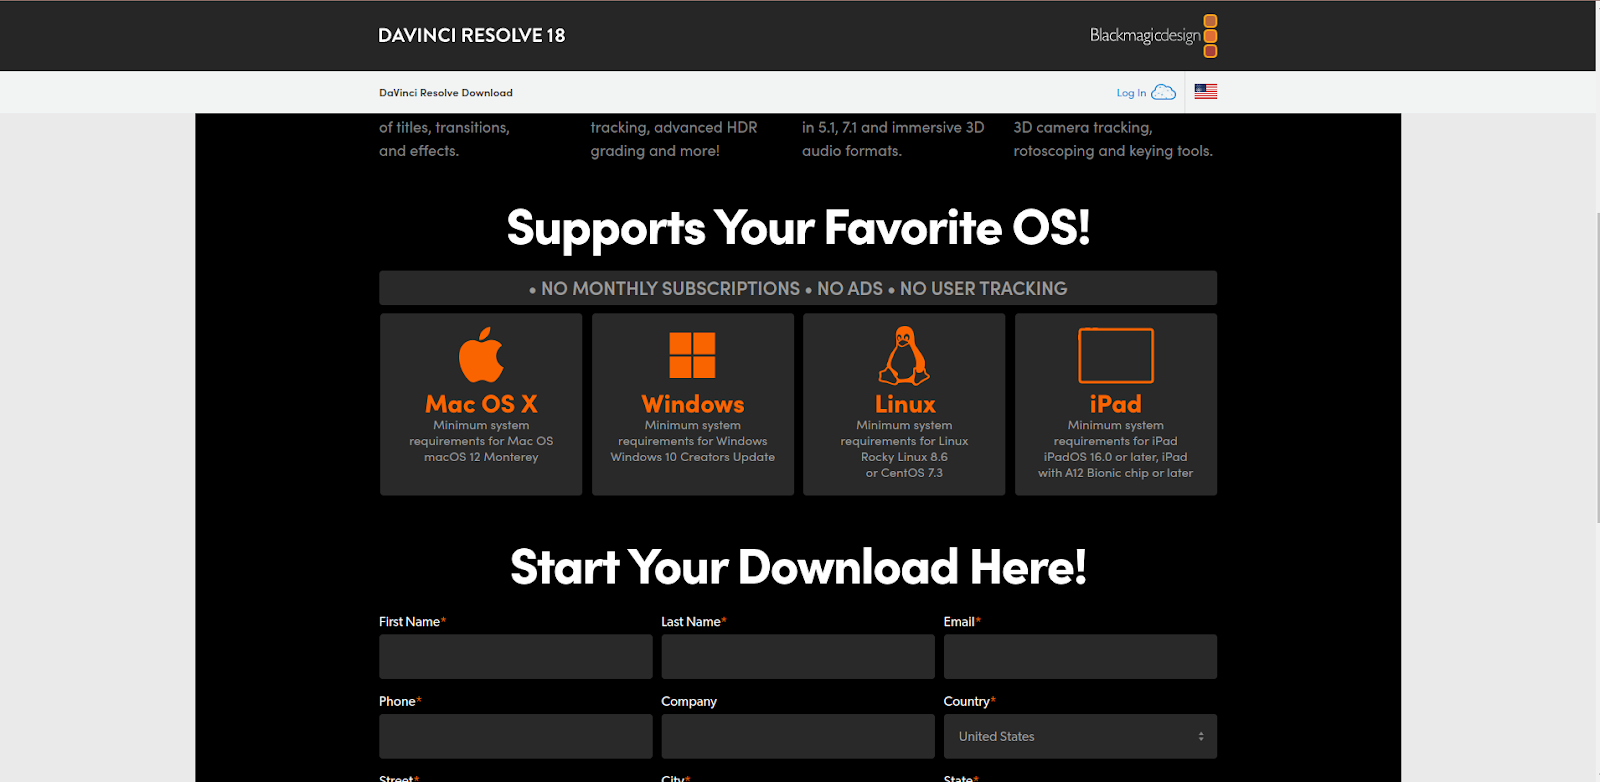
To download DaVinci Resolve for Linux, visit the official Blackmagic Design website and navigate to the “Support” section. Select “DaVinci Resolve” from the dropdown menu and choose “Linux” as the operating system.
After selecting the “Linux” option, you will be prompted to log in or create an account if you don’t have one. Once logged in, you can download the Linux version of DaVinci Resolve.
Installation
Once the download is complete, open a terminal, navigate to the directory where the installer is located, and make it executable.
$chmod +x DaVinci_Resolve_*.run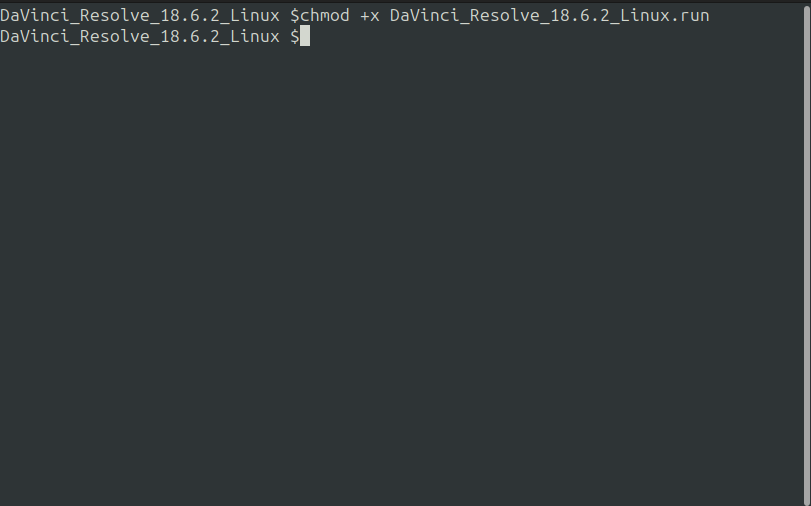
Now, run the installer:
$./DaVinci_Resolve_*.runThe installer guides you through the installation process. You may be prompted to enter your password to authorize the installation. Follow the on-screen instructions to complete the installation.
Activation
After the installation is complete, you need to activate DaVinci Resolve. Open the application and follow the on-screen prompts to enter your activation key or create a new account if you don’t have one. Once activated, you’re ready to start using DaVinci Resolve on Pop!_OS.
Getting Started with DaVinci Resolve
Now that DaVinci Resolve is installed and activated on your Pop!_OS system, let’s explore the basics of using this powerful video editing software.
Creating a New Project
When you first open DaVinci Resolve, you’ll be greeted with the Project Manager. Click on “New Project” to create a new project. Give your project a name and choose a location to save it.
Importing the Media
To start editing a video, you need to import your media files into the project. Click on the “Media” tab in the lower part of the screen, and then click on the “Import Media” button. Navigate to the folder that contains your media files, select them, and click “Open” to import them into your project.
Editing
DaVinci Resolve offers a wide range of editing tools to help you create your video. You can trim the clips, arrange them on the timeline, and add transitions, effects, and titles. The software’s user interface is designed to make the editing process intuitive and efficient.
Color Correction and Grading
One of the standout features of DaVinci Resolve is its advanced color correction and grading capabilities. To access the “Color” page, click on the “Color” tab at the bottom of the screen. Here, you can adjust the color and look of your footage to achieve the desired visual style for your video.
Audio Post-Production
DaVinci Resolve also offers a comprehensive set of audio post-production tools. Click on the “Fairlight” tab at the bottom of the screen to access the audio editing workspace. Here, you can mix and edit the audio tracks, apply effects, and ensure that your audio sounds its best.
Exporting
Once your video is edited and polished to your satisfaction, it’s time to export it. Click on the “Deliver” tab, select your export settings, choose a destination folder, and click on the “Add to Render Queue” button.
Then, click on “Start Render” to export your final video.
Tips
While DaVinci Resolve generally runs smoothly on Pop!_OS, you may encounter some issues.
Here are a few tips:
- If you experience any graphical issues or performance problems, ensure that your GPU drivers are up to date.
- Check for DaVinci Resolve updates regularly to access new features and improvements.
- Visit the official DaVinci Resolve forums or user community for help with specific issues or questions.
Conclusion
DaVinci Resolve is a powerful video editing tool that’s now accessible to Linux users, including those on Pop!_OS. With the step-by-step guide provided in this article, you should be well-equipped to install, activate, and use DaVinci Resolve on your Pop!_OS system.
Remember that video editing is a skill that improves with practice, so don’t be discouraged if your first projects aren’t perfect. DaVinci Resolve, with its comprehensive set of features and user-friendly interface, is an excellent choice for both beginners and experienced video editors who are looking to create captivating videos on the Pop!_OS platform.
Frequently Asked Questions
How do I install DaVinci Resolve on Pop!_OS?
To install DaVinci Resolve on Pop!_OS, you can download the Linux version from the official website, extract the downloaded file, and run the installation script following the provided instructions.
What are the system requirements for running DaVinci Resolve on Pop!_OS?
To run DaVinci Resolve effectively on Pop!_OS, ensure that your system meets the necessary requirements such as a compatible GPU, a minimum of 16GB RAM, and sufficient storage space for project files.
Is DaVinci Resolve free on Pop!_OS?
DaVinci Resolve offers a free version that provides robust video editing capabilities. However, there is also a paid version (DaVinci Resolve Studio) with additional features for professional users.
Can I use DaVinci Resolve for color grading on Pop!_OS?
Yes, DaVinci Resolve on Pop!_OS is renowned for its advanced color correction and grading capabilities, making it a popular choice for filmmakers and video editors looking to enhance their visuals.
How user-friendly is DaVinci Resolve on Pop!_OS?
DaVinci Resolve is known for its user-friendly interface and intuitive workflow, making it accessible to both beginners and experienced video editors on Pop!_OS.
Does DaVinci Resolve support audio post-production on Pop!_OS?
Yes, DaVinci Resolve offers powerful audio post-production tools, allowing users on Pop!_OS to enhance and optimize the audio quality of their video projects.
Are there any tutorials available for using DaVinci Resolve on Pop!_OS?
Yes, there are numerous online tutorials, guides, and resources available that can help you learn how to use DaVinci Resolve effectively on Pop!_OS to create professional-quality videos.
Can DaVinci Resolve projects on Pop!_OS be easily shared with other editing software?
DaVinci Resolve projects on Pop!_OS can be exported in various formats for seamless compatibility with other editing software, allowing for collaborative workflows and versatile post-production processes.