
Kubectl is a command-line tool that lets developers and administrators deploy, monitor, manage, and scale applications in a Kubernetes containerized environment. Having kubectl installed on Ubuntu lets DevOps engineers communicate with different clusters using single-line commands. Cloud engineers often pair it with the AWS CLI on Ubuntu 24.04 to manage hosted clusters.
Quick answer
You can install kubectl on Ubuntu 24.04 with Snap, APT, or curl. After installation, run kubectl version --client to confirm the client works before adding a kubeconfig file or connecting to a cluster.
How to Install kubectl on Ubuntu 24.04
| Method | Command | Auto-updates | Notes |
|---|---|---|---|
| Snap | sudo snap install kubectl –classic | Yes (snap refresh) | Simplest install |
| APT (Kubernetes repo) | sudo apt-get install -y kubectl | Yes (apt upgrade) | Full APT integration |
| curl | curl -LO + chmod + mv | No | Pinned to exact version |
Method 1: Install kubectl on Ubuntu 24.04 Using Snap
Step 1: Update Repository
sudo apt update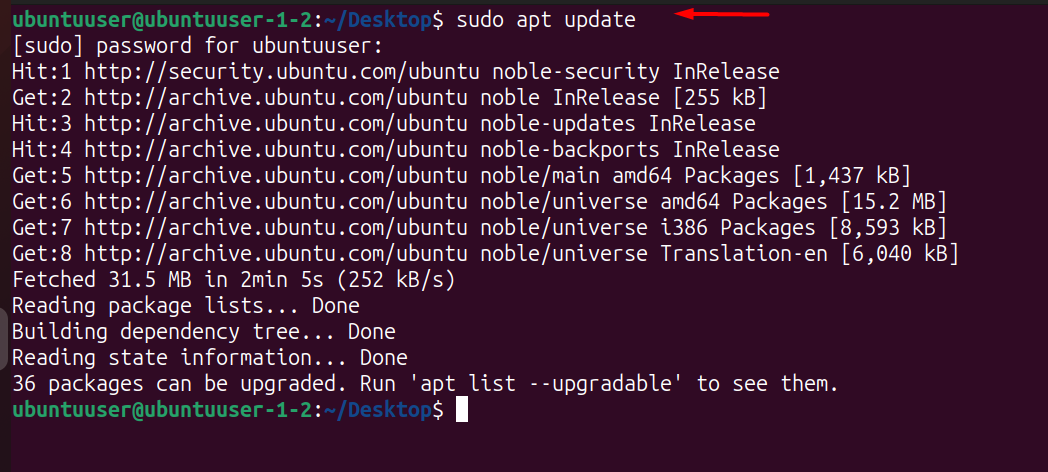
Step 2: Install Snap Daemon
Snap is not pre-installed on Ubuntu 24.04 minimal installs. Install it if needed:
sudo apt install snapd
Step 3: Install kubectl
The --classic flag gives kubectl full system access required to read kubeconfig files and manage clusters:
sudo snap install kubectl --classic
Step 4: Verify the Installation
sudo kubectl version --client
Uninstall kubectl via Snap
sudo snap remove kubectlVerify the removal:
sudo kubectl version --client
Method 2: Install kubectl on Ubuntu 24.04 Using APT
This method adds the official Kubernetes APT repository so kubectl receives updates through standard apt upgrade.
Step 1: Update APT Repository
sudo apt-get update
Step 2: Install curl and HTTPS Transport Prerequisites
sudo apt-get install -y apt-transport-https ca-certificates curl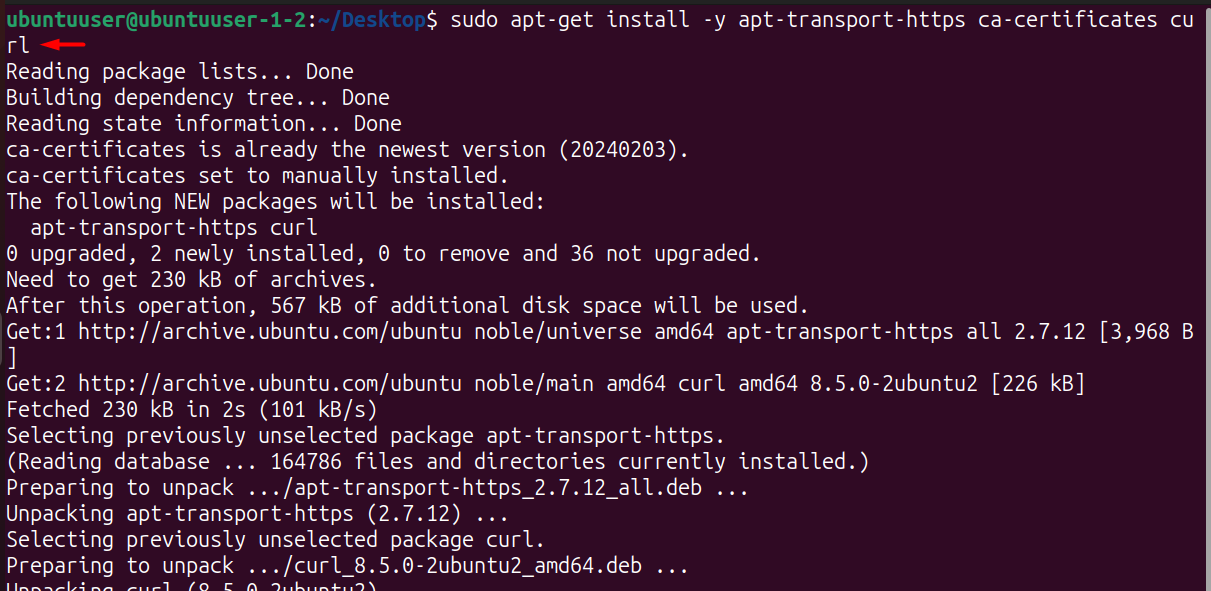
Step 3: Download the Kubernetes GPG Key
curl -fsSL https://pkgs.k8s.io/core:/stable:/v1.29/deb/Release.key | sudo gpg --dearmor -o /etc/apt/keyrings/kubernetes-apt-keyring.gpg
Note: If the command fails because the directory does not exist, create it first with sudo mkdir -p /etc/apt/keyrings. The version in the URL also pins the repository, so change v1.29 to match the Kubernetes minor version your cluster runs.
Step 4: Add the Kubernetes Repository
echo 'deb [signed-by=/etc/apt/keyrings/kubernetes-apt-keyring.gpg] https://pkgs.k8s.io/core:/stable:/v1.29/deb/ /' | sudo tee /etc/apt/sources.list.d/kubernetes.list
Step 5: Update and Install kubectl
sudo apt-get update
sudo apt-get install -y kubectl
To stop kubectl jumping to a new minor version during a routine upgrade, pin it:
sudo apt-mark hold kubectlStep 6: Verify the Installation
kubectl version --client --output=yaml
Uninstall kubectl via APT
sudo apt autoremove kubectl
Verify the removal:
kubectl version --client --output=yaml
Method 3: Install kubectl on Ubuntu 24.04 Using curl
The curl method downloads a specific kubectl binary directly, without adding a package repository. This is useful when you need to pin kubectl to a specific version, similar to how you install Go on Ubuntu 24.04 from a tarball.
Step 1: Install curl
sudo apt install curlStep 2: Check System Architecture
Use lscpu to confirm your architecture. Download the amd64 binary for x86_64 systems, or substitute arm64 for ARM:
Step 3: Download kubectl
The following command always downloads the latest stable release:
curl -LO "https://dl.k8s.io/release/$(curl -L -s https://dl.k8s.io/release/stable.txt)/bin/linux/amd64/kubectl"
Because this binary is not signed by APT, verify it against the official checksum before running it:
curl -LO "https://dl.k8s.io/release/$(curl -L -s https://dl.k8s.io/release/stable.txt)/bin/linux/amd64/kubectl.sha256"
echo "$(cat kubectl.sha256)  kubectl" | sha256sum --check
A response of kubectl: OK means the download is intact. Anything else means you should delete the file and download it again.
Step 4: Make kubectl Executable
chmod +x kubectlVerify permissions:
ls -al kubectlStep 5: Move kubectl to Your PATH
sudo mv kubectl /usr/local/binConnect kubectl to a cluster
A fresh kubectl install talks to nothing. It reads cluster details from a kubeconfig file at ~/.kube/config, which your cluster provider or administrator supplies. Create the directory and place the file:
mkdir -p ~/.kube
cp /path/to/downloaded-config ~/.kube/config
chmod 600 ~/.kube/config
The chmod 600 step matters — the file holds cluster credentials, and kubectl warns about world-readable configs. To use a config stored elsewhere without overwriting the default, point the environment variable at it instead:
export KUBECONFIG=~/Downloads/my-cluster.yamlConfirm the connection works. This is the first command that actually contacts the cluster rather than just the local binary:
kubectl cluster-info
kubectl get nodes
Switching between clusters
A single kubeconfig can hold several clusters. Contexts are how you move between them, which is essential once you have separate development and production clusters:
kubectl config get-contexts
kubectl config current-context
kubectl config use-context my-dev-cluster
Enable shell autocompletion
Autocompletion saves a great deal of typing given how long Kubernetes resource names are. Enable it for bash:
sudo apt install bash-completion
echo 'source <(kubectl completion bash)' >> ~/.bashrc
source ~/.bashrc
Many people also add a short alias, then extend completion to it so tab-completion keeps working:
echo 'alias k=kubectl' >> ~/.bashrc
echo 'complete -o default -F __start_kubectl k' >> ~/.bashrc
Troubleshooting kubectl on Ubuntu 24.04
| Error | Cause | Fix |
|---|---|---|
| The connection to the server localhost:8080 was refused | No kubeconfig found | Place a valid config at ~/.kube/config or set KUBECONFIG |
| error: You must be logged in to the server (Unauthorized) | Expired or wrong credentials | Refresh the kubeconfig from your provider |
| Unable to connect to the server: dial tcp i/o timeout | Cluster unreachable from this network | Check VPN, firewall, or cluster endpoint |
| WARNING: version difference between client and server exceeds the supported minor version skew | Client too old or too new | Install a kubectl within one minor version of the cluster |
Permission denied on ~/.kube/config |
File owned by root after sudo cp |
sudo chown $(id -u):$(id -g) ~/.kube/config |
The localhost:8080 error is the one most people hit first. It does not mean the install failed — it means kubectl found no cluster configuration and fell back to a default local address that nothing is listening on.
Before using kubectl
Installing kubectl only gives you the Kubernetes command-line client. To manage real workloads, you still need access to a Kubernetes cluster and a valid kubeconfig file. For a remote cluster over SSH, first install OpenSSH Server on Ubuntu 24.04.
Try to keep kubectl close to the Kubernetes cluster version you manage. Kubernetes supports a skew of one minor version in either direction, so a v1.29 client works with clusters from v1.28 to v1.30. Outside that range you may see resources fail to parse or commands behave unexpectedly.