Last updated:
Windows 10 comes with a built-in tool called Windows Security that combines antivirus scanning, firewall management, account protection, and malware removal in a single dashboard. Getting it configured correctly takes only a few minutes through the Settings app and ensures your computer has baseline protection against viruses, ransomware, and other threats. If the Windows Security background scanning process causes high CPU usage after setup, our guide on fixing Antimalware Service Executable high CPU usage covers the common remedies.
Before you configure Windows Security, it helps to understand its three main protection areas: Virus and Threat Protection handles real-time antivirus scanning, Firewall and Network Protection controls inbound and outbound network traffic, and Account Protection manages sign-in methods and dynamic lock. Users planning an upgrade should also check our guide on testing Windows 11 compatibility, since Windows 11 requires Secure Boot and TPM 2.0 — features that Windows Security helps manage. If Windows updates stall after you make security changes, our guide on restarting Windows Update-related services covers how to restore the update pipeline.
Quick Answer
Open Start > Settings > Update & Security > Windows Security. From the dashboard, go to Virus & Threat Protection and confirm Real-Time Protection is on. Click Firewall & Network Protection, select your active network profile, and confirm the firewall is enabled. Click Account Protection to review your sign-in settings. Finally, return to Virus & Threat Protection, click Scan Options, choose Full Scan, and click Scan Now to run an initial check of your system.
Why Windows Security Matters
Windows Security is the primary defense layer built into Windows 10, providing real-time monitoring for malicious software, controlled network traffic filtering, and protection against unauthorized account access. Without it actively running, your system has no automated barrier against malware or ransomware. Keeping it configured and updated ensures Windows continuously applies the latest threat definitions without requiring manual intervention.
How to Set Up Windows Security on Windows 10
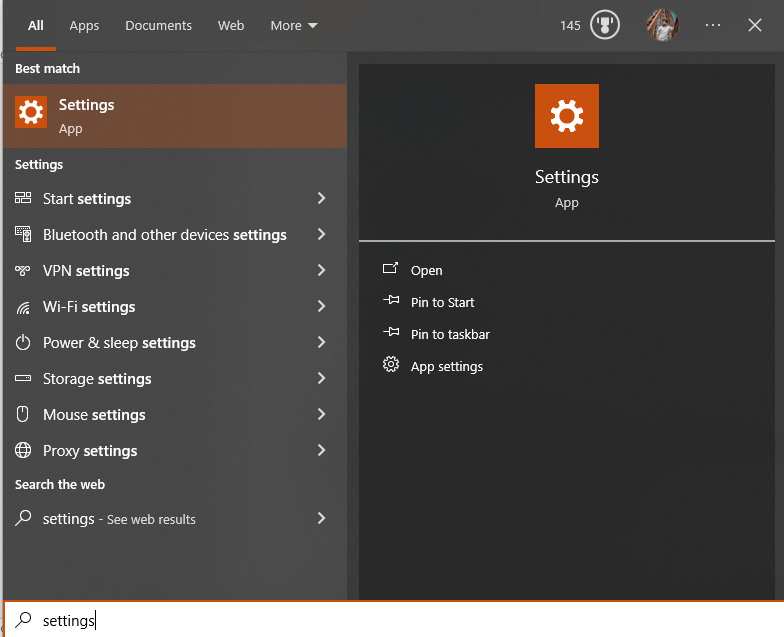
Open the Start menu and select Settings.

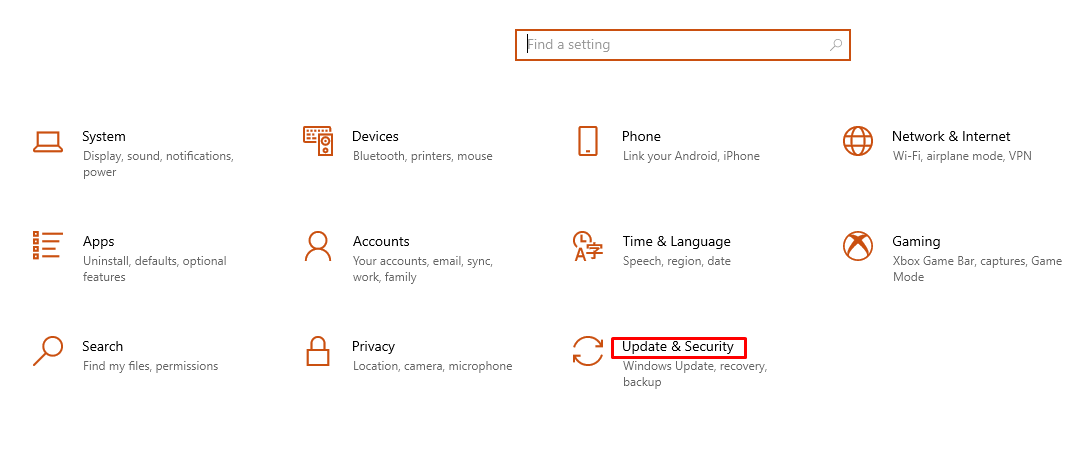
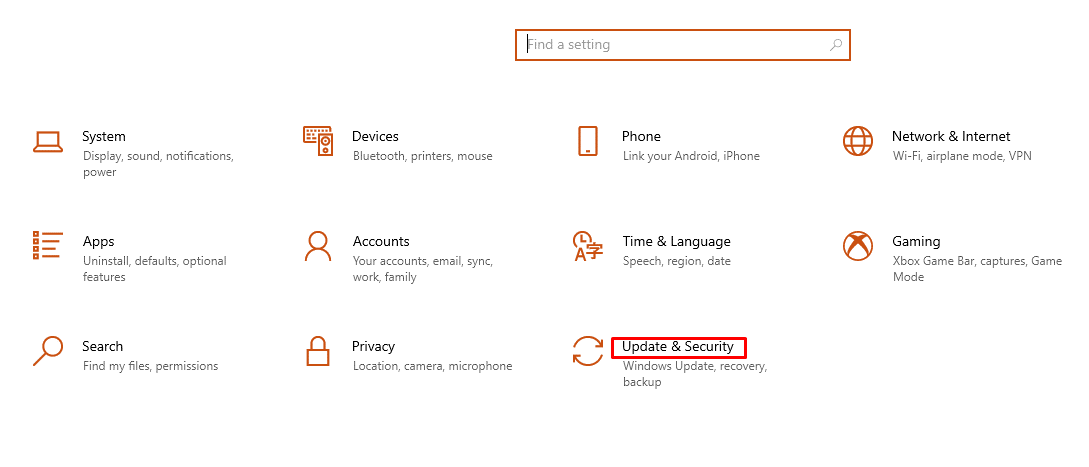
Select Update & Security.
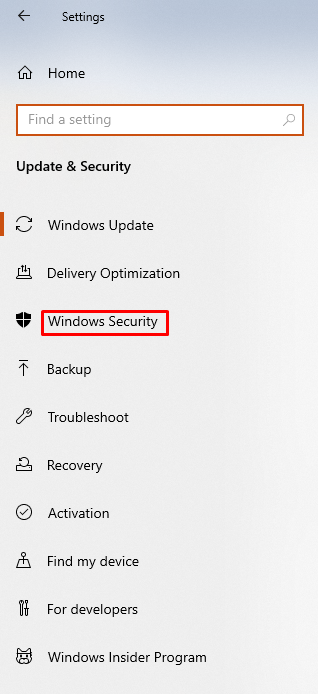
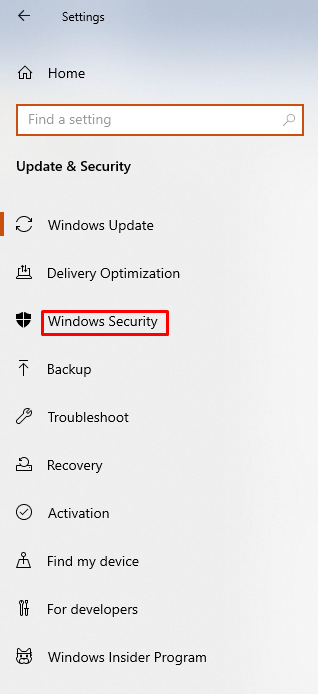
Select Windows Security from the left sidebar.
This opens the Windows Security dashboard, where you can configure all protection areas.
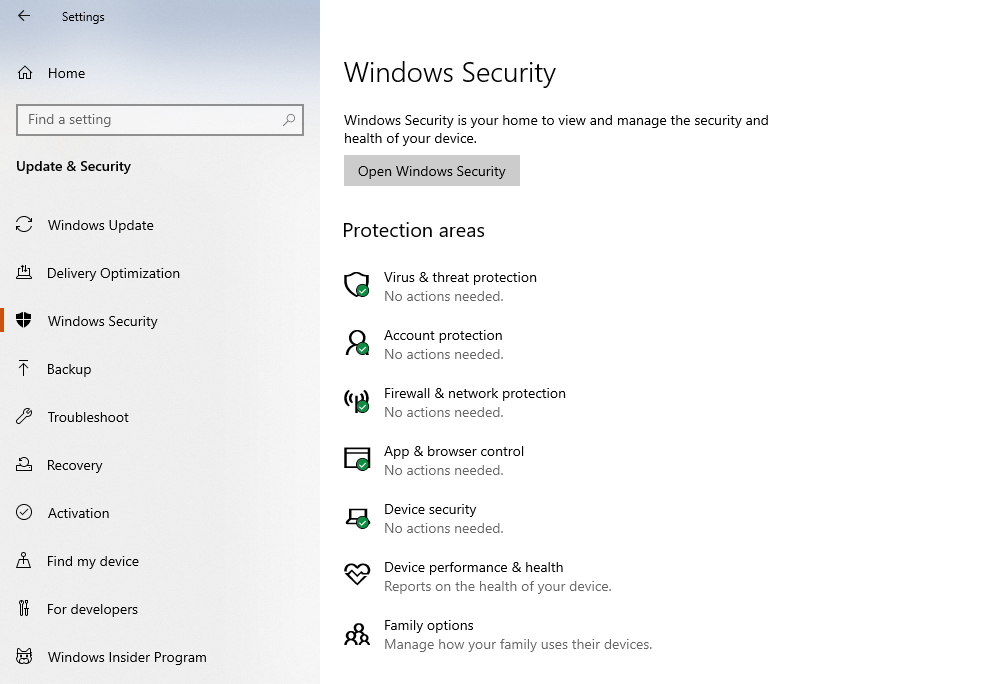
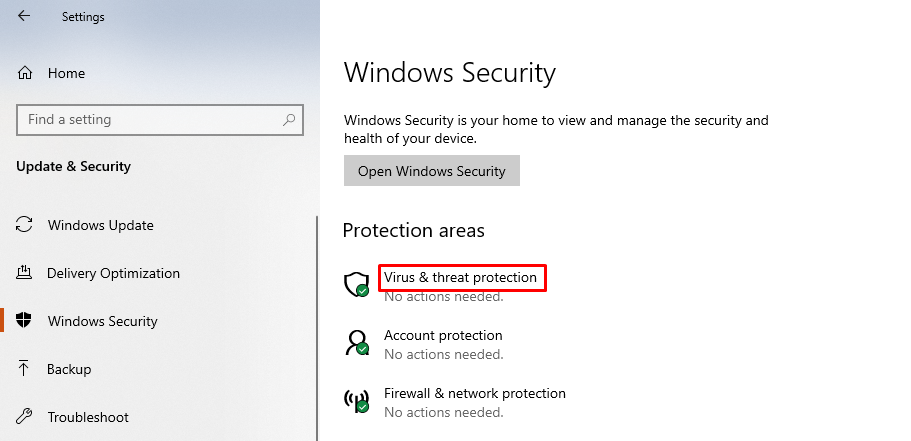
Enable Real-Time Protection first. Under Virus & Threat Protection, confirm that Real-Time Protection is toggled on. This continuously monitors your computer for malicious activity and removes threats before they cause damage.
Next, configure the Windows Firewall. Click Firewall & Network Protection.
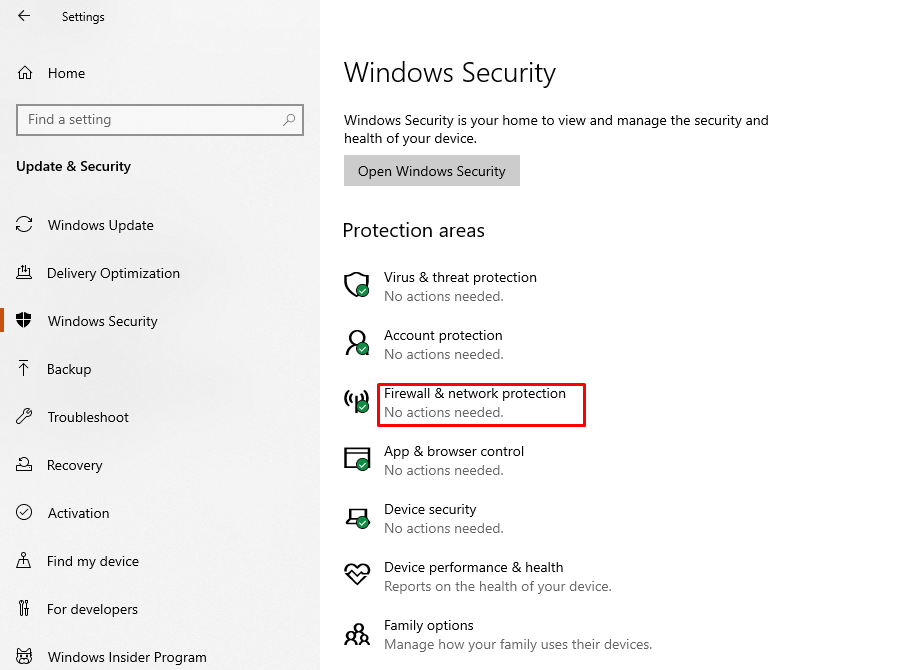
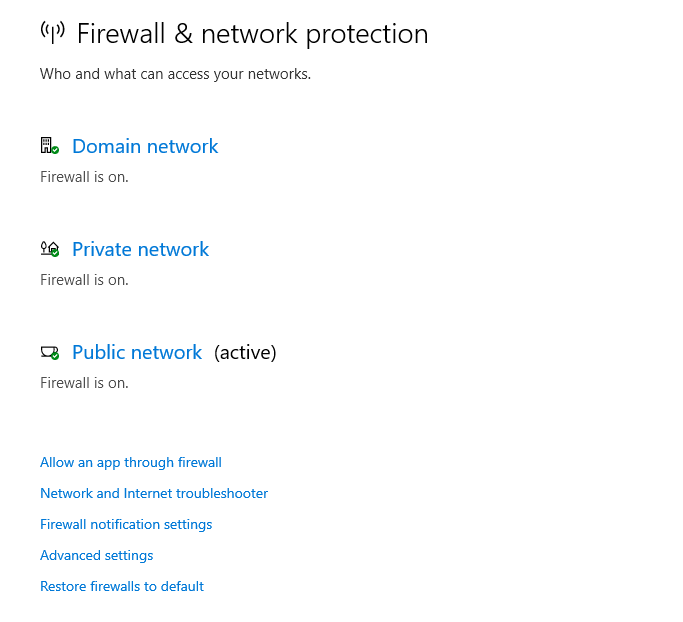
Select the network profile that matches your connection type (Domain, Private, or Public) and confirm the firewall is turned on for that profile.
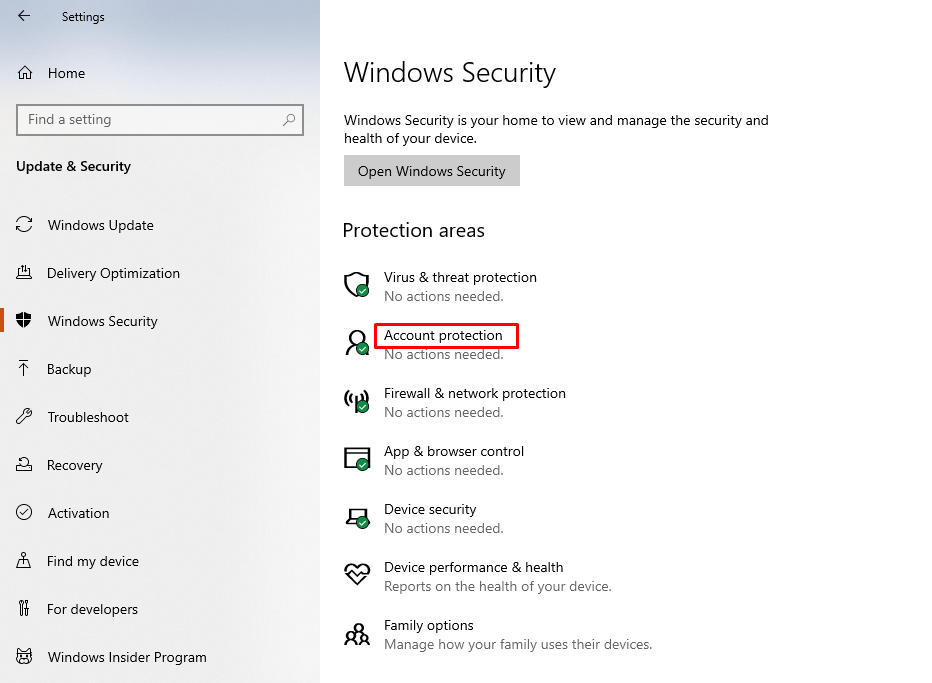
To configure user access control, click Account Protection from the main Windows Security dashboard.
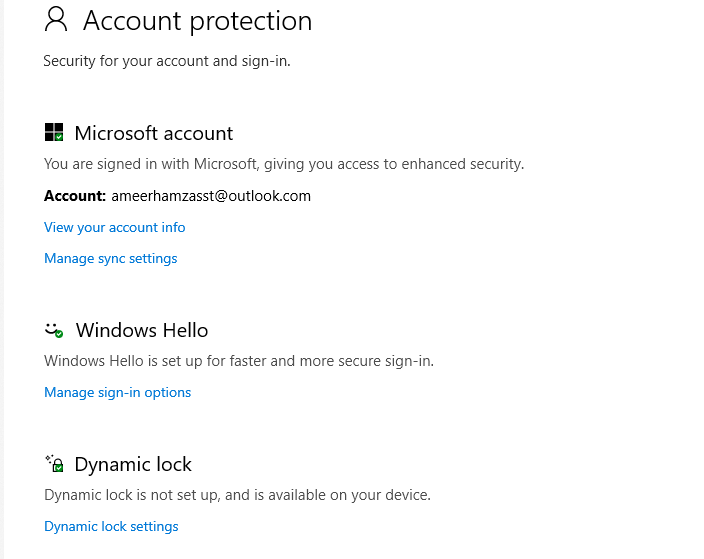
Review the sign-in options and Dynamic Lock settings, and configure them to match your security requirements.
Finally, run a security scan to confirm everything is working correctly. Return to Start > Settings.
Select Update & Security.
Select Windows Security.
Click Virus & Threat Protection.
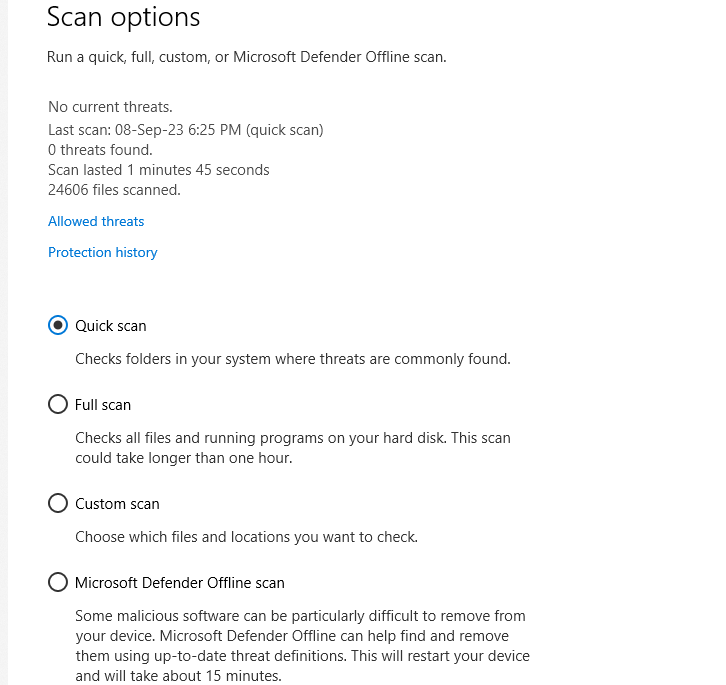
Click Scan Options and select Full Scan for the most thorough check, or Quick Scan for a faster review of common threat locations. Click Scan Now to start.